How to Pitch a Tent: The Complete Step-by-Step Guide for Campers at Every Level
-
| Founder & Content Creator

Latest Posts




Every camper has a version of the same story. You arrive at the campsite, the light is fading faster than expected, you unpack the tent, and suddenly you cannot remember which pole goes where, what the instructions looked like, or why you did not try this at home first.
Knowing how to pitch a tent confidently is the skill that separates a stressful first hour at camp from a relaxed one — and it is genuinely straightforward once you have done it a few times and know the details that make the difference. Not just the steps, but the reasons behind them: why the 45-degree stake angle holds better, why the strongest pole structure faces the wind and not the entrance, why guylines matter even on calm nights.
This guide covers all of it — campsite selection, ground preparation, the full setup sequence, how to pitch in rain and wind, guyline technique, and the final walk-around that takes two minutes and catches everything a tired camper might miss.
Good tent pitching starts with good preparation — our complete camping checklist for new campers covers everything you need before you even arrive at the campsite.
Still choosing which tent to buy? Our best camping tents for all weather buyer’s guide covers every spec, all camper types, and the capacity rating truth every first-time buyer needs before making a decision.
Why Knowing How to Pitch a Tent Properly Changes Everything About Camping
A well-pitched tent does several things at once: it keeps you dry, keeps you warm, and stays stable through whatever the night brings. A poorly pitched tent does the opposite of all three — and it tends to reveal its shortcomings at the worst possible moment, usually at midnight in the rain.
The good news is that pitching a tent well is not complicated. Most of the skill involved is knowing the details that the tent instructions booklet skims over — the small things that experienced campers do automatically and beginners do not know to look for. This guide puts all of those things in one place.
Step 1: Choose the Right Campsite — the Decision That Shapes Your Night
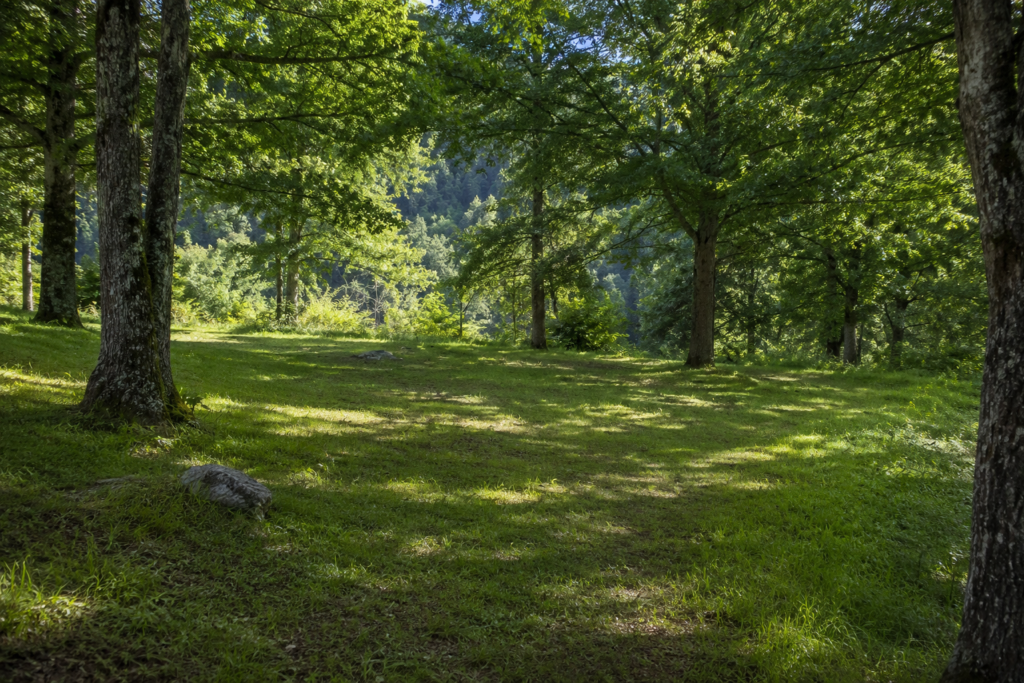
The campsite you choose does more work than your tent. A good site makes everything easier. A poor one creates problems that no amount of good technique can fully fix.
Flat Ground and Drainage: What to Look For
Look for a flat or gently sloped surface — flat enough to sleep on without sliding, sloped enough for water to drain away from the tent rather than toward it. Avoid hollows, depressions, and low-lying areas even if the weather looks perfect. These are the places where rainwater collects, and they will tell you this at 3am after two hours of steady rain.
- Flat ground: look for a surface that is level enough to lie comfortably — if you are not sure, lie on it briefly and see how it feels
- Gentle slope is good: a 1-2 degree slope is ideal. Water drains away without you sliding
- Avoid hollows and low points: water travels downhill and settles in low spots. A hollow that looks fine when dry can become a shallow pond overnight
- Avoid creek beds and riverbeds: even dry ones — these are natural flood channels that fill fast
Natural Windbreaks: Position for Protection
The wind at 2am can be dramatically stronger than the breeze when you arrived. Natural windbreaks — a stand of trees, a boulder, a hillside, a dense hedgerow — on the upwind side of your pitch can significantly reduce the stress on your tent and the noise that keeps you awake.
- Identify the prevailing wind direction before choosing your spot
- Position a natural windbreak between you and the wind — not your tent acting as the first obstacle
- Seek higher, drier ground where possible — cold and damp air settles in low areas, raising condensation levels inside the tent
- Trees create a warmer microclimate than open ground — useful in cool conditions
- Avoid camping near trees with damaged limbs or leaning trunks — known as widow-makers in wilderness safety terminology. Dead branches fall without warning, particularly in wind.
What to Look Up Before You Look Down
Before you lay anything on the ground, look directly up. This takes five seconds and is consistently overlooked. Dead or damaged branches overhead — widow-makers — are one of the most underappreciated campsite hazards. A branch that looks attached can fall in moderate wind or rain without any warning. Check the canopy above your pitch before committing to it.
PRO TIP: The 200-foot rule: pitch your tent at least 200 feet from lakes, rivers, and streams. This protects the water source from campsite waste and protects you from flooding, insects, and wildlife drawn to water. Most campsites in established parks mark this distance — in the backcountry, estimate by counting approximately 80 adult paces.
Step 2: Prepare the Ground — Two Minutes That Protect Your Tent
Before you unpack the tent, clear the ground of anything that should not be between you and the earth: sticks, stones, pinecones, sharp roots, anything that could puncture your tent floor or make sleeping uncomfortable. You do not need pristine ground — just nothing actively sharp or poking.
- Remove rocks and sticks: even small ones become noticeable through a sleeping pad over time
- Check for ant hills or insect nests: stepping back and looking at the ground for a moment catches this before you have set up on top of something that bites
- Flatten loose soil or leaf litter where the tent will sit: this gives the groundsheet a cleaner contact surface
- Do not excavate or reshape the terrain: if the ground needs major work, choose a different spot — the extra effort signals a site that will cause problems
Step 3: Choosing the Right Tent Size — Go Bigger Than You Think You Need
Tent capacity ratings are optimistic. A tent labelled as a 3-person tent sleeps three people who are comfortable being very close together and have no gear inside. For most camping scenarios, choose one size up from the number of people actually sleeping in it.
- Solo camper: consider a 2-person tent — the extra space is useful for gear and for turning over without hitting the walls
- 2 people: a 3-person tent is comfortable. A 2-person is fine if you do not need to sit up together
- Family of 4: a 6-person tent gives everyone breathing room and space for gear
- Consider peak height: a tent you can stand up in makes dressing children, searching bags, and general camp life significantly easier — especially in rain when you cannot be outside
- Consider vestibule space: a covered porch area outside the main door where wet boots and damp gear can live without entering your sleeping space is one of the most underrated tent features
Choosing the right tent before you pitch it makes everything else easier — our guide to choosing the right tent covers tent types, sizing, ratings, and all the decisions that matter.
Step 4: How to Pitch a Tent — the Complete Step-by-Step Process
Here is the full sequence for how to pitch a tent correctly. Work through these in order and everything else falls into place.
a) Gather and Check All Components Before You Start
Before anything goes on the ground, empty the tent bag and check that everything is present. The ideal time to discover a missing pole or stake is in your garden at home — the worst time is in a field at dusk with rain coming.
- Tent body, rainfly, groundsheet or footprint
- Poles — check each section connects and bends without resistance
- Stakes — count them. Most tents provide the minimum number. Bring extra.
- Guylines — check they are untangled and attached to the rainfly
- Tent bag: repacking the tent neatly back into the bag on the way home is a skill worth developing — it means you always know what you have
The instruction booklet that came with your tent was written by someone who had assembled it approximately 40 times before writing anything down. This explains why Step 3 says ‘simply insert the pole into the sleeve’ as if this is self-evident. Read it anyway, then watch one YouTube video of your specific tent model being pitched. Twenty minutes at home saves forty minutes of confusion at camp.
b) Lay Out the Groundsheet or Footprint
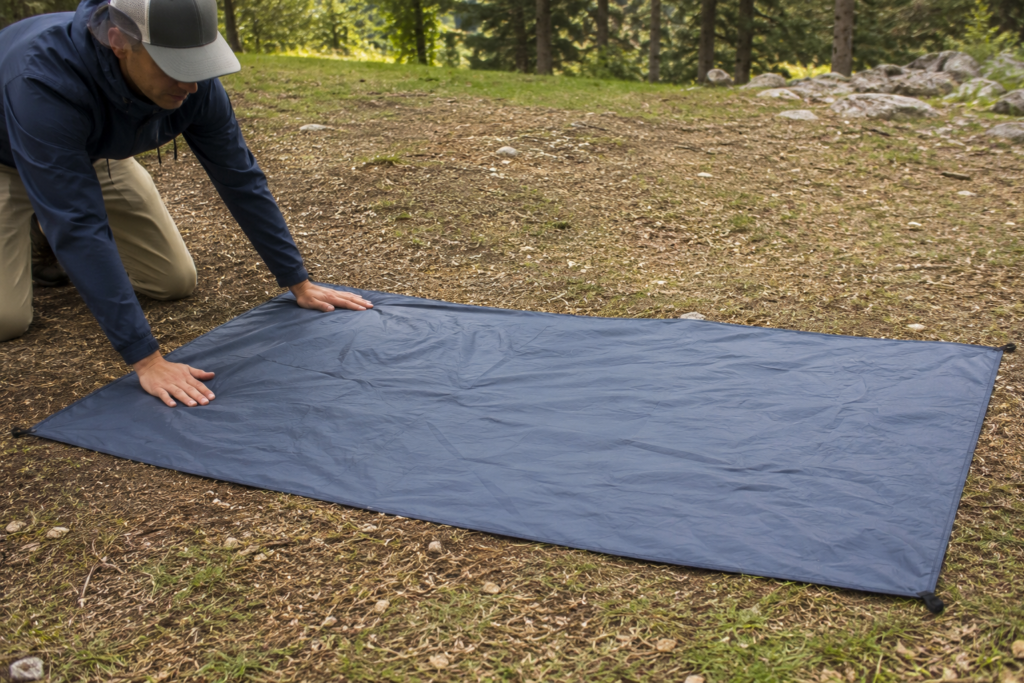
Lay the groundsheet on your prepared surface in the orientation you plan to sleep. Smooth any wrinkles and make sure it sits flat.
Here is the detail that most beginners miss: the groundsheet should be slightly smaller than the tent footprint, or folded to size, so that it sits inside the drip line of the rainfly. If the groundsheet extends beyond the tent edges, it channels rainwater underneath the tent floor rather than away from it. This is one of those things that seems fine until it rains, and then becomes very obvious very fast.
- Standard footprint: ideally purpose-built for your tent model and sized accordingly
- Budget option: a heavy-duty poly tarp cut or folded to size — works perfectly if sized correctly
- Fold under any excess: never let the groundsheet extend beyond the tent’s drip line
- Mark the tent outline: if using a generic tarp, lay the tent body briefly to mark the corners, then remove it before laying the groundsheet
c) Tent Orientation: Wind, Sun, and Condensation
This step is where most people make a quick, instinctive decision that they later regret. Tent orientation matters for wind stability, morning light, and condensation management — and the decisions are not always obvious.
- For wind stability: Orient the side with the strongest pole structure toward the prevailing wind — not the door. The common instinct to point the door away from the wind is partially correct, but the more important factor is getting your tent’s sturdiest geometry into the wind, not just the entrance. Understand your tent’s pole architecture and face its strongest side into the gusts.
- For condensation: Seek higher, drier ground where possible. Cold damp air settles in hollows and low spots, raising condensation inside the tent. Under tree cover is warmer and produces less condensation than open ground in cool conditions.
- For morning comfort: If you want gentle morning light to wake you, face the door east. If you want to sleep in, face it away from the sunrise direction.
- For hot weather: Face a door toward the prevailing breeze for natural ventilation through mesh panels.
In hot weather, tent orientation is especially important — our guide to keeping your tent cool in summer covers 12 practical techniques for staying comfortable when the temperature climbs.
d) Assemble the Tent Poles
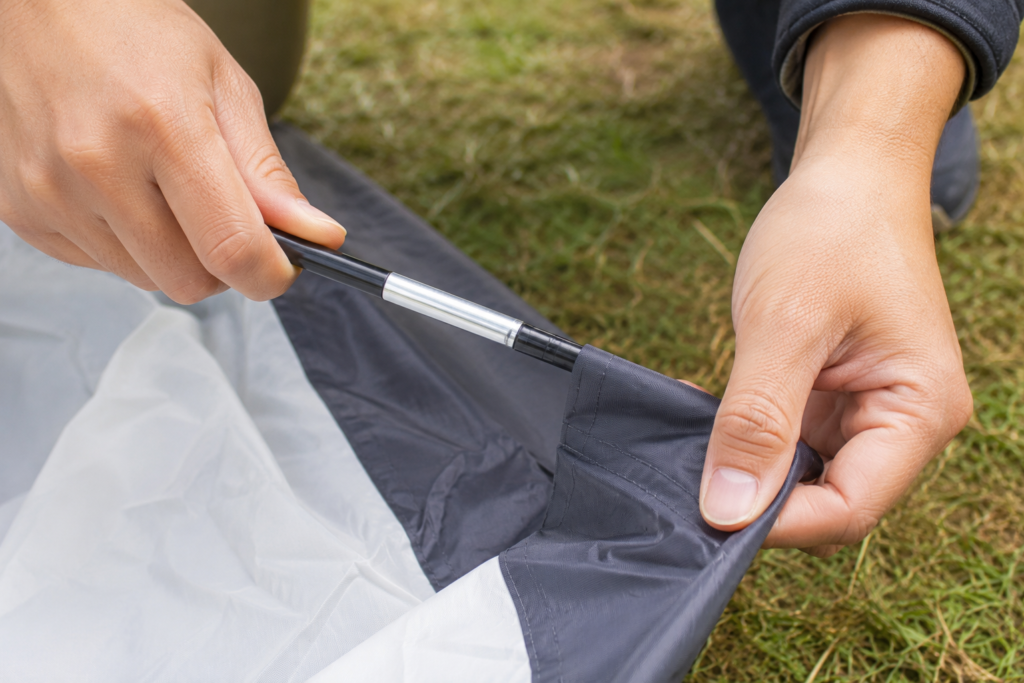
Modern tent poles come in sections connected by elastic shock cord — unfold them and the cord pulls the sections together automatically. Lay them out before inserting anything.
- Identify which poles go where before inserting them — most tents colour-code the pole ends and the sleeves
- Connect sections gently: do not force or yank the joints — the shock cord guides them together
- Insert poles into sleeves smoothly with a gentle push-through — forcing creates kinks that weaken the pole over time
- For clip-style tents: slide the pole through any fixed attachment points first, then clip the body fabric onto the pole at intervals
- If a pole section is stiff or resists: check for debris or damage in the ferrule before forcing
e) Raise the Tent and Create the Structure
With poles in place, lift the tent into its standing position. For most freestanding tents, this involves bowing the poles by connecting the pole ends into the corner grommets — the tension of the bowed pole creates the tent’s shape.
- For dome tents: connect each pole end into its corner grommet — the tent will rise naturally as both poles are tensioned
- For cabin-style tents: the poles slot into vertical sleeves and the structure rises more like a frame
- Check symmetry: a well-erected tent should look even from all sides. If one side looks saggy or lower, a pole is probably not fully seated in its grommet
- In wind: stake down at least two corners before raising the tent — otherwise a gust can send your tent across the campsite
f) Stake the Tent at 45 Degrees — Why the Angle Matters
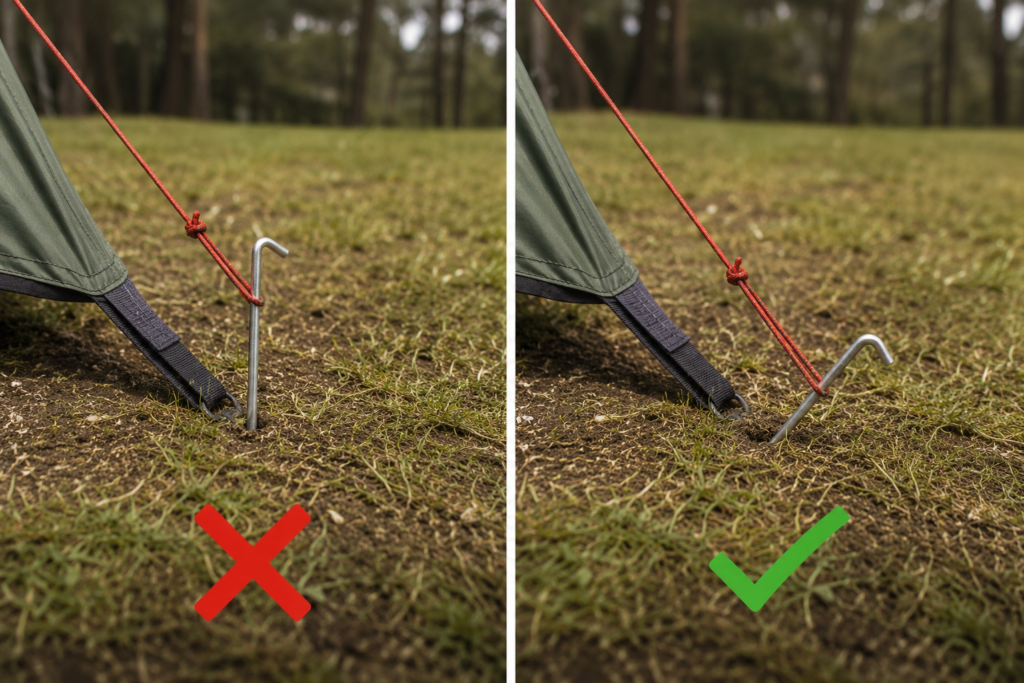
This is one of the most consistently explained-incorrectly steps in tent setup guides. The instruction to ‘insert stakes at a 45-degree angle’ sounds fussy but has a very specific reason: a stake inserted vertically into the ground creates a pivot point. The tent fabric or guyline pulling on it acts as a lever and can rock the stake back and forth until it pulls free.
A stake angled at 45 degrees away from the tent creates direct resistance against the pulling force. The load goes straight down the stake shaft into the ground rather than rocking it back and forth. This is why properly angled stakes hold in conditions where vertical ones pull out.
- Angle: 45 degrees, pointing away from the tent (not toward it)
- Drive to full depth: the head of the stake should be at or just above ground level — a partially driven stake is significantly weaker
- Loop placement: thread the guy line or corner loop over the stake before driving — do not try to hook it on after
- Firm ground: drive stakes in with a rock or the back of a multi-tool — your hands alone rarely get them deep enough in hard soil
- Soft/wet ground: use longer stakes and drive them deeper — standard stakes pull out of saturated soil easily
g) Attach the Rainfly Properly
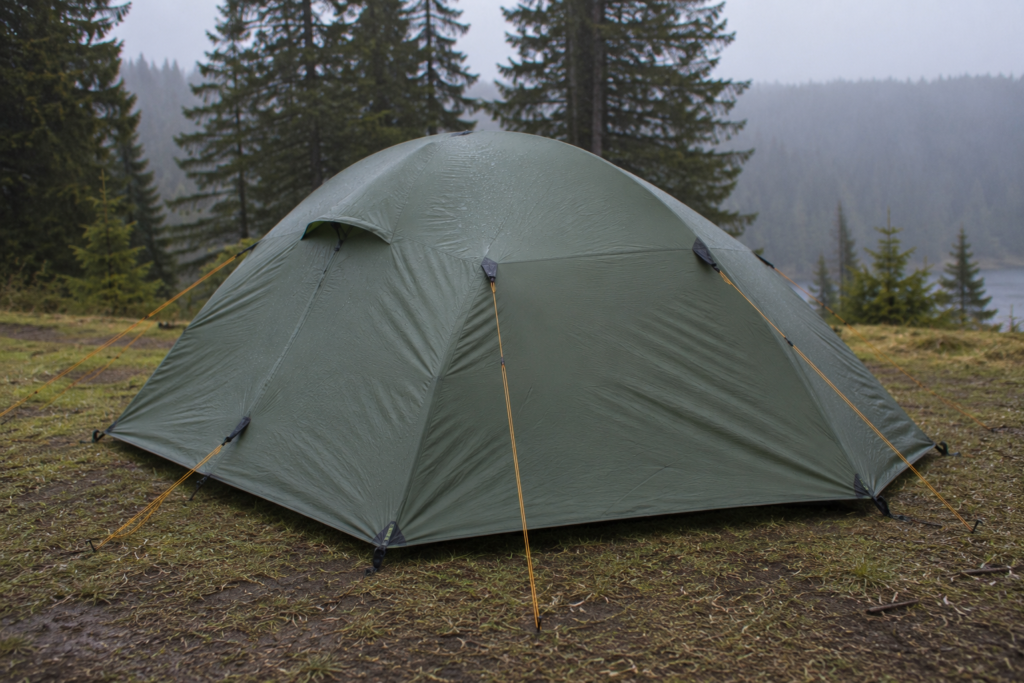
The rainfly is what actually keeps you dry — the tent body itself is typically mesh or thin fabric designed for ventilation, not waterproofing. The rainfly provides the waterproof layer.
- Drape the rainfly over the tent body with the doors aligned — most rainflies are marked to match up with the tent entrance
- Attach at corners first: clip or buckle the rainfly to the tent body at each corner before adjusting the middle sections
- The rainfly should sit away from the tent inner: if the rainfly presses against the inner mesh, moisture can transfer through by contact. Properly tensioned, the rainfly and inner should have a gap between them
- Stake down the rainfly edges: this pulls the fly away from the inner and extends its coverage to the ground level
- Check coverage: the rainfly should extend past the tent base far enough that rain cannot blow horizontally under it in a wind-driven storm
h) Attach and Tension the Guylines — the Step Most Campers Skip
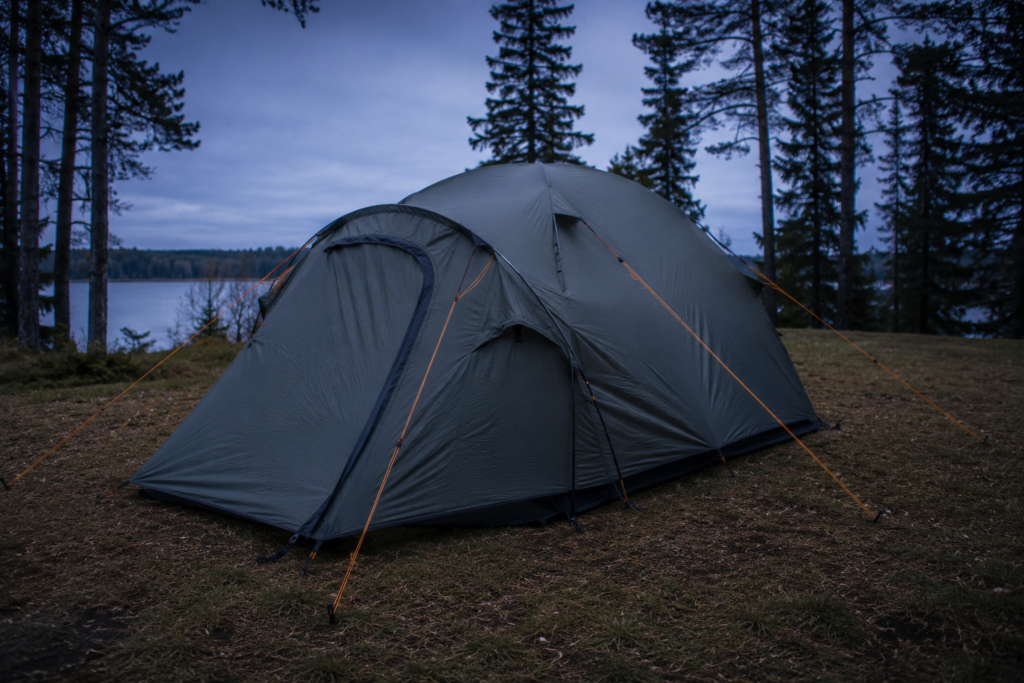
Guylines are the thin cords attached to the rainfly at various points, designed to be staked out away from the tent to add lateral stability. Most campers skip them on calm nights because the tent stands up fine without them. This is the most common tent pitching mistake.
Guylines do two things that staking alone cannot: they brace the tent against lateral wind forces and they keep the rainfly taut and away from the inner tent body. A tent without guylines in a storm can flex so dramatically that the rainfly presses against the inner mesh, transferring moisture through contact. In stronger wind, an unstaked tent can collapse entirely.
- Stake guylines at angles away from the tent — not parallel to it
- Tension them evenly: if one side is tighter than the other, the tent pulls and warps in that direction
- Adjust tensioners (the small slides on the guylines): slide toward the stake to tighten, toward the tent to loosen
- Check guylines are not tangled around poles or obstructions: a guyline pulled at a wrong angle creates a stress point
- Always attach guylines — even on calm nights when they seem unnecessary. Weather changes faster than forecasts suggest, and attaching them in daylight is considerably easier than in the dark during a storm.
Guylines are the flossing of camping: everyone knows they should do it, almost nobody does it every time, and the consequences are only felt when something goes wrong at an inconvenient moment. Unlike flossing, attaching guylines takes about two minutes and can be the difference between a tent that stands and one that collapses at 3am. Attach them every time.
Pitching a Tent in Challenging Conditions: Wind, Rain, and Hard Ground
Perfect conditions are the exception rather than the rule. The techniques above work on a calm afternoon on ideal terrain — here is what changes when conditions are less cooperative.
Pitching in Wind: The Strongest Pole Side Faces the Gusts
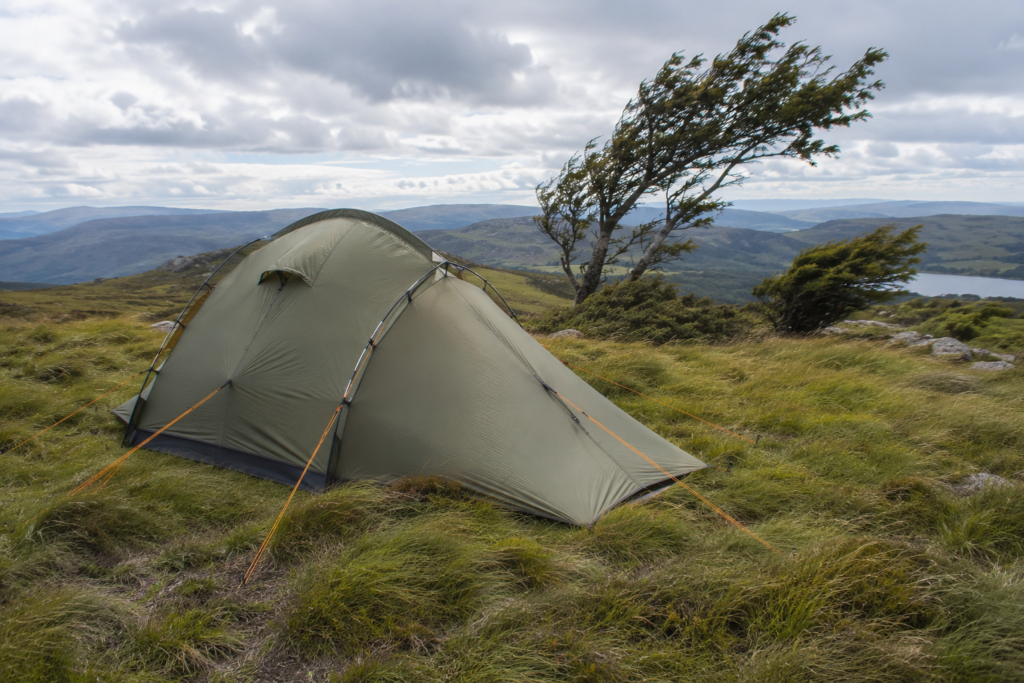
Wind is the most common tent setup challenge, and it can go from annoying to genuinely dangerous quickly. The key principle: the side of the tent with the strongest pole structure should face the wind, not the entrance.
- Stake corner stakes before raising the tent: in wind, an unstaked tent will blow away the moment it catches air
- Work with the wind: raise the tent in the direction the wind is blowing — not against it
- Attach the windward side first: clip, stake, and guy that side before moving to the leeward side
- Keep gear inside: even moderate wind can take an unstaked tent or gear bag airborne
- If wind is very strong: pitch the tent low and close to the ground using a lower configuration if your tent offers one
Wind pitching is especially critical in mountain environments — our mountain camping for beginners guide covers high elevation specific safety and weather planning.
Pitching in Rain: Speed and Order Matter
The goal when pitching in rain is to minimize how long the tent body is exposed and to get the rainfly on as fast as possible.
- Lay out the groundsheet first: this gives you a clean dry surface to work on
- Some campers pitch the rainfly over the poles before attaching the tent body — this keeps the inner dry during setup. Practise this at home first.
- Stakes first: drive corner stakes into the ground before spreading the tent body — this stops the tent blowing away while you are managing it
- Rainfly immediately after raising: do not leave the inner exposed. Attach the fly the moment the poles are in and the tent is standing
- Shake excess water off the rainfly before packing: packing a wet rainfly traps moisture and causes mildew. If conditions force you to pack wet, air it out at home within 24 hours
For everything else about camping in wet conditions — clothing, tarps, sleeping systems, condensation — our wet weather camping tips guide covers the full picture.
Pitching on Hard Ground: Pilot Holes and Rock Anchors
Hard-packed or rocky ground will humble even experienced campers, but it does not have to defeat you.
- Pilot holes: Use the awl on a multi-tool, a sturdy tent peg, or even a large nail to create a pilot hole in hard ground before trying to drive a stake. Work it gradually larger rather than forcing the stake. A small amount of water poured into the hole can soften hard-packed earth enough to make a difference.
- Rock anchors: When stakes simply will not work, tie guylines around large stable rocks. The rock mass provides the anchor instead of the stake. Use rocks you are confident will not roll.
- Sand anchors: On sandy or loose soil, bury a deadman anchor — a tent bag, a stuff sack filled with sand, or a stick — horizontally in the ground and attach the guyline to it. The horizontal buried object resists the pulling force far better than a vertical stake in loose soil.
- Extra stakes: Always bring more stakes than your tent requires. Two or three extra stakes add almost nothing to pack weight and are invaluable when conditions make staking difficult.
Final Checks Before You Unpack: The Walk-Around Every Camper Should Do
Before you bring any gear inside and settle in, walk slowly around the tent once and check each of these:
- Tent is taut with no sagging sections — a sagging section holds water and eventually transfers it through
- Rainfly extends past the tent base on all sides — if you can see the tent body below the fly edge, the fly is not covering fully
- All stakes are driven to full depth — a partially driven stake that looks fine in calm conditions pulls out in wind
- Guylines are attached and under tension — even if it is calm now
- Rainfly and inner tent body have a gap between them — they should not be touching
- Tent door zips smoothly and closes fully — a sticky zip now becomes a frustrating zip at 3am
- No overhead hazards visible — take one final look up before you commit to the night
A badly pitched tent is one of the most avoidable common camping mistakes — our full guide covers this and ten other errors worth knowing about before your first trip.
Frequently Asked Questions About How to Pitch a Tent
How long does it take to pitch a tent?
For a first-timer working from instructions, a two-person tent typically takes 20-30 minutes. After you have pitched the same tent two or three times, that drops to 10-15 minutes. Experienced campers working with a familiar tent pitch in 5-10 minutes. The single biggest factor is whether you have practiced at home before the trip — one home practice session usually halves the time at camp.
Should you put a groundsheet under a tent?
Yes — always. A groundsheet (also called a footprint or ground cloth) protects your tent floor from moisture, abrasion, and punctures from sharp ground. It also adds a layer of insulation from cold ground. The critical detail: the groundsheet should be sized to sit inside the tent’s drip line, not extend beyond it. A groundsheet that sticks out past the tent edge channels rain underneath the tent floor, which is the opposite of helpful.
Which way should a tent door face?
For wind: the door generally faces away from the prevailing wind, but the more important factor is getting the tent’s strongest pole structure facing into the wind, not specifically the door. For warmth: facing east puts morning sunlight on your tent, warming it naturally and encouraging you to get up. For hot weather: facing toward the prevailing breeze allows airflow through mesh panels. For rain: facing away from the wind prevents rain blowing directly into the entrance when you open it.
Do you need guylines when pitching a tent?
Yes — and you should attach them every time, not just in bad weather. Guylines stabilise the tent against lateral wind forces and keep the rainfly taut and away from the inner tent body, preventing moisture transfer by contact. A tent without guylines stands fine in calm conditions and becomes visibly stressed in moderate wind. Attaching guylines takes about two minutes in daylight and is considerably harder in a storm in the dark. Make it a habit every time you pitch.
How do you pitch a tent on hard or rocky ground?
For hard-packed ground: use a multi-tool awl or nail to create pilot holes before attempting to drive stakes. Work them gradually larger and add a small amount of water to soften the soil. For truly rocky ground where stakes will not penetrate: use rock anchors — tie guylines around large stable rocks rather than staking. Always bring extra stakes and some paracord, which can reach a suitable rock anchor when your guylines are not long enough.
You Are Ready: Your Tent Is Going Up Perfectly From Here
The first time you pitch a tent, everything takes longer and feels less certain than it should. The second time, it is noticeably faster. By the fourth or fifth time with the same tent, you are doing it without thinking — the groundsheet goes down, the poles slot in, the fly goes on, the stakes go in at the right angle, the guylines go out. Ten minutes, maybe fifteen, and camp is ready.
Knowing how to pitch a tent well is one of those skills that compounds with every trip. The things that felt uncertain last time become automatic this time. The checks that took concentration become instinctive. And eventually you arrive at a campsite in fading light, a bit tired, knowing you can have the tent up and be inside it with dinner on before dark — which is, genuinely, one of the better feelings available to a camper.
Practise at home first. Check the guylines. Stake at 45 degrees. Do the walk-around. Everything else will follow.