Hammock Camping for Beginners – How to camp, sleep, and stay comfortable outdoors
-
| Founder & Content Creator

Latest Posts
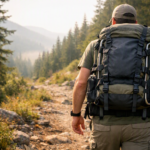
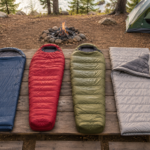
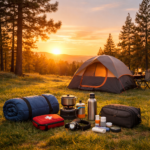
Hammock camping is one of the most comfortable and lightweight ways to sleep outdoors — and once you feel that gentle sway under the stars, you will completely understand why it is gaining serious traction among backpackers, weekend adventurers, and nature lovers. If you have ever wrestled with uneven ground, spent twenty minutes clearing rocks and roots to pitch a tent, or woken up stiff and aching from sleeping on a hard surface, a camping hammock is the answer you have been looking for.
In this complete beginner’s guide to hammock camping, we cover everything you need to get started — from picking the right gear and finding the right trees, to achieving the perfect hang angle, staying warm through the night, and finally mastering the sleeping position that changes everything. Let’s get you swinging with confidence.
BEFORE YOUR FIRST TRIP
Do a practice run in your garden or local park before your first real camping trip. Two mock runs at home reduces setup anxiety on arrival night — you can make mistakes in the daylight with zero consequences. Most first-trip regret comes from stacked small frustrations after a long drive, not from one dramatic error. Remove that friction at home first.
What Is Hammock Camping and Why Are More Campers Switching?
Hammock camping is exactly what it sounds like — instead of sleeping on the ground in a tent, you string a specially designed camping hammock between two sturdy trees and sleep suspended above the forest floor. And no, this is not the rope hammock from your grandparents’ garden. Modern camping hammocks are built from tough, lightweight ripstop nylon, often include integrated bug nets, and can be paired with rain tarps and insulation systems to keep you warm and dry in virtually any season.
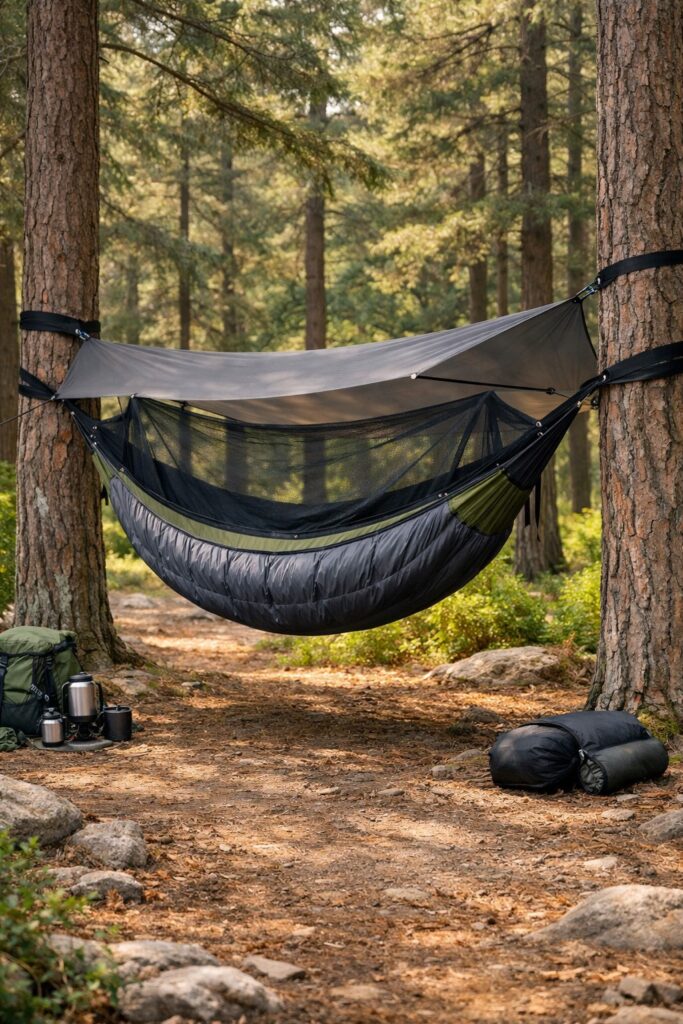
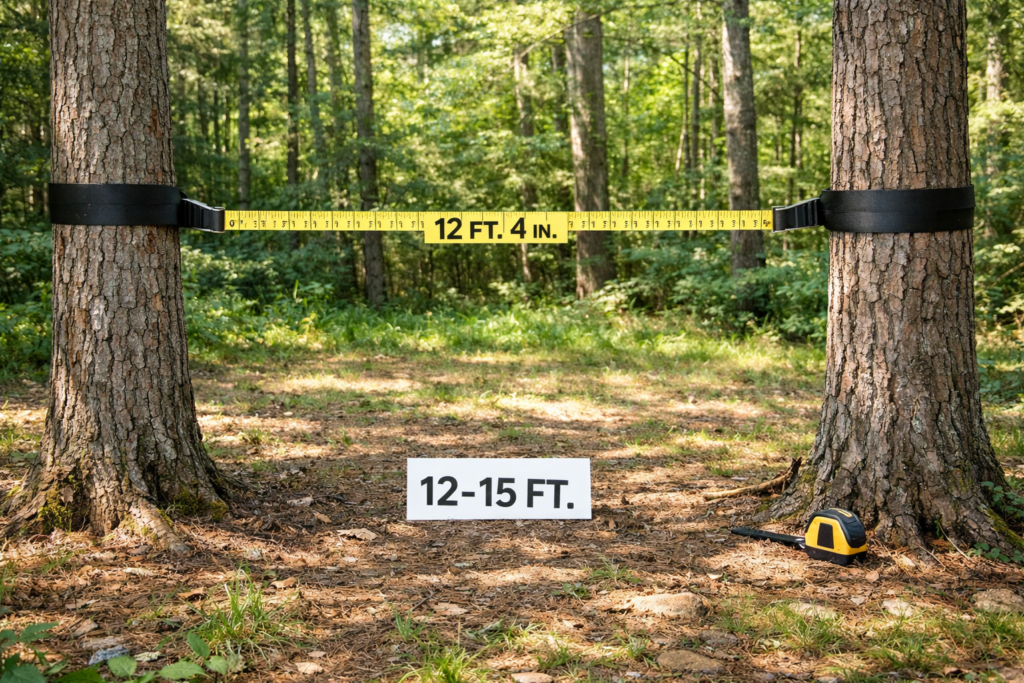
If your camping destination requires a hike to reach, a hammock is a significantly lighter and more compact option than most tents. Once you have mastered the setup — which takes considerably less time than pitching a tent — hammock camping opens up an entirely different category of camping locations. Anywhere two healthy trees stand between 12 and 15 feet apart is a potential campsite.
The Real Benefits of Hammock Camping Over Tent Camping
Light Weight and Ultra-Compact
If you count every ounce in your pack, hammock camping is a genuine game-changer. A complete hammock camping setup — hammock, bug net, rain fly, and tree straps — weighs less than most tents and packs down to the size of a large water bottle. That extra room in your pack is freed up for food, water, and the gear that actually matters on the trail.
Camp Where Tents Cannot Go
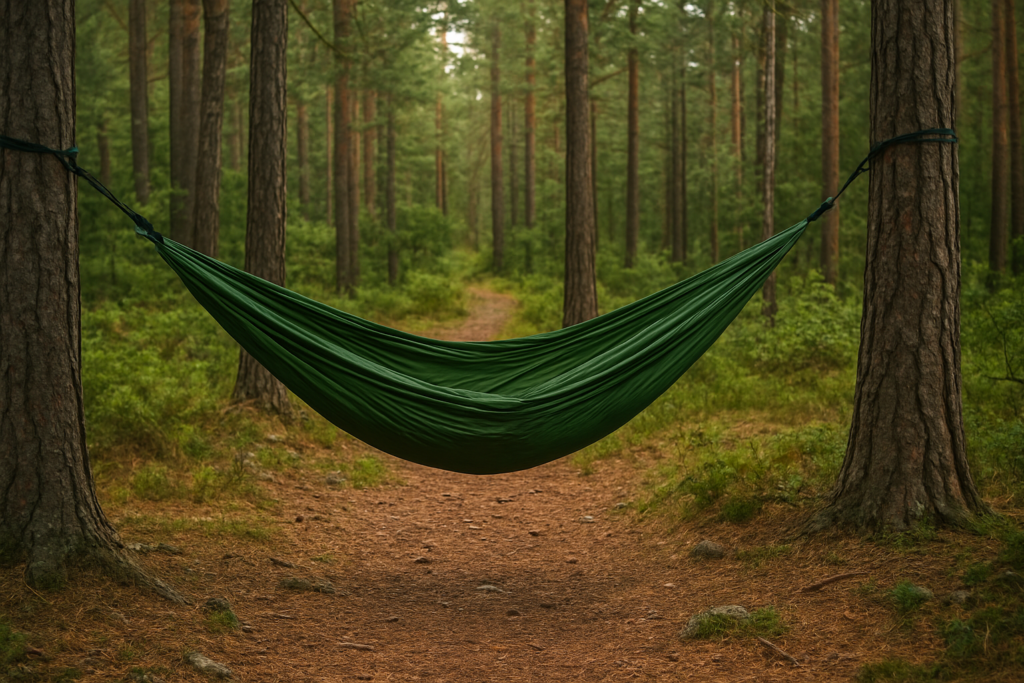
You do not need to worry about finding flat ground free of rocks, roots, mud, or thick shrubs. Uneven terrain, sloping hillsides, and even spots above flowing streams are not a concern — because you are sleeping above all of it. As long as you have two sturdy, healthy trees spaced 12 to 15 feet apart, you have a campsite. This opens up an enormous range of locations that tent campers simply cannot access.
Better Sleep and Less Back Pain
Sleeping on the ground is not always comfortable, even with a high-quality sleeping pad. A well-set-up camping hammock gently supports and aligns your body, reducing the pressure points that cause restless tossing and turning through the night. Many campers report waking up feeling more rested and genuinely ache-free in a hammock than they ever did in a tent — particularly those who suffer from lower back issues.
Fast and Easy Setup
Unlike tents that require poles, stakes, perfectly flat ground, and the ritual fumbling with instructions in fading light, a hammock can be ready in under five minutes once you have a little practice. The elevated setup also means you always have a clean, dry, and comfortable place to rest — even if the ground below you is muddy, damp, or uneven.
Essential Hammock Camping Gear: What You Actually Need
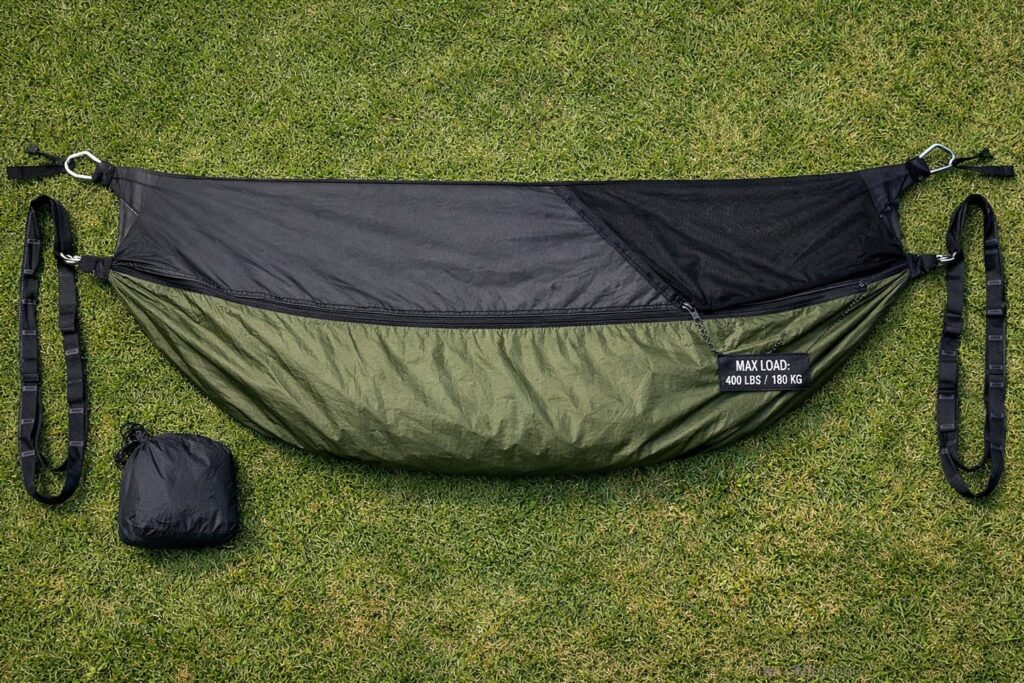
If you are ready to swap your tent for a hammock, here is the complete gear list — what you need, what it does, and what to look for when choosing each item.
The Hammock Itself — What to Look For
Choose a hammock specifically designed for outdoor camping — not decorative cotton hammocks from home décor stores which are not built for the load, weather, or sustained outdoor use. Look for ripstop nylon construction for durability and weather resistance. Check the weight capacity — it should comfortably exceed your body weight with gear. If you are tall or like extra room to move, opt for a double-width hammock for more comfort.
Tree Straps and Suspension System
Tree straps are what actually hold you safely in the air — choose them with care. Wide straps (at least one inch, ideally 1.5 inches) distribute load across the bark and prevent damage to the tree — a key Leave No Trace requirement for hammock camping. Daisy chain straps with multiple attachment loops make height and angle adjustments simple without any knot-tying. Always use straps rated well above your body weight plus gear.
Bug Net — Built-In or Separate
In any camping area with mosquitoes, midges, or other insects, a bug net is non-negotiable. Many quality camping hammocks have an integrated bug net that zips closed around the entire hammock, creating a sealed, comfortable pod. If your hammock does not include one, a separate full-length bug net that drapes over the outside is equally effective. Do not skip this item — a single midge-filled night will rapidly recalibrate your priorities.
Rain Tarp or Rainfly
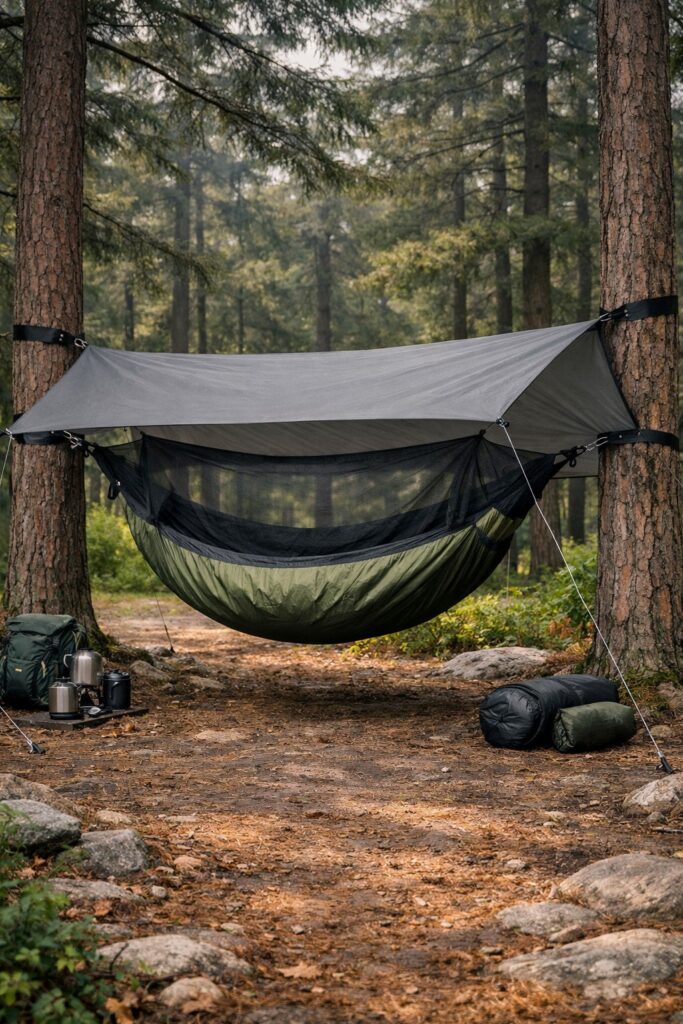
Pack a rain tarp even when the forecast looks clear — weather changes fast in any outdoor setting, particularly at altitude or near coastlines. Your tarp should be large enough to extend at least 12 inches beyond both ends of your hammock. Set it up above your hammock before you need it, not during a downpour at midnight.
For a complete general camping packing list alongside your hammock setup, our [complete camping checklist for new campers] covers every item category for your first outdoor trip.
Under Quilt and Sleeping Bag: Hammock Insulation Essentials
How to Check Your Underquilt Is Working
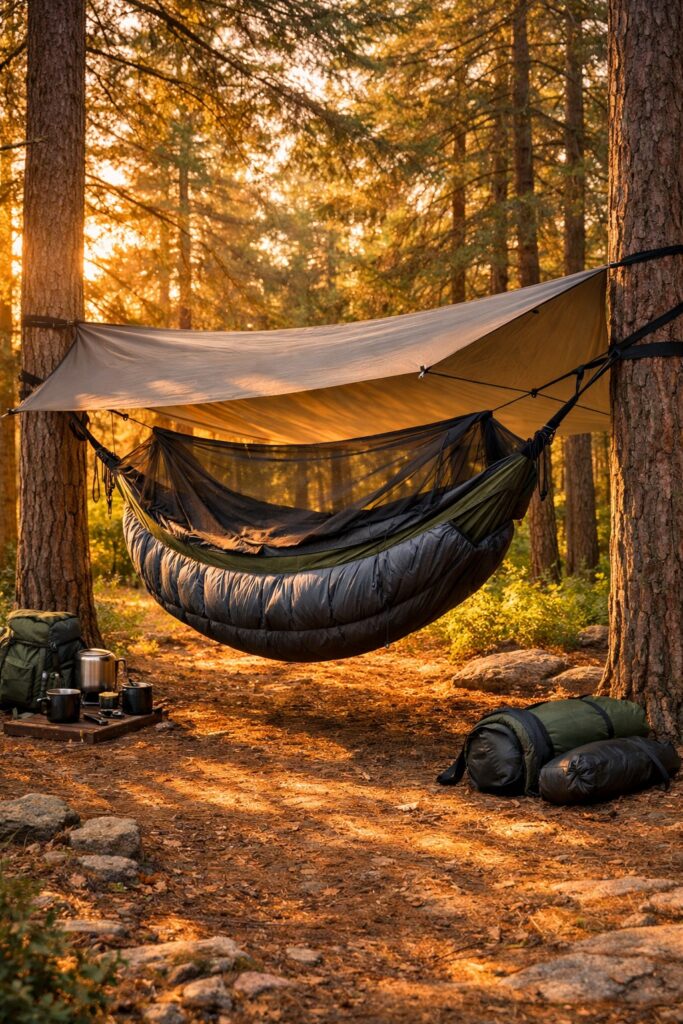
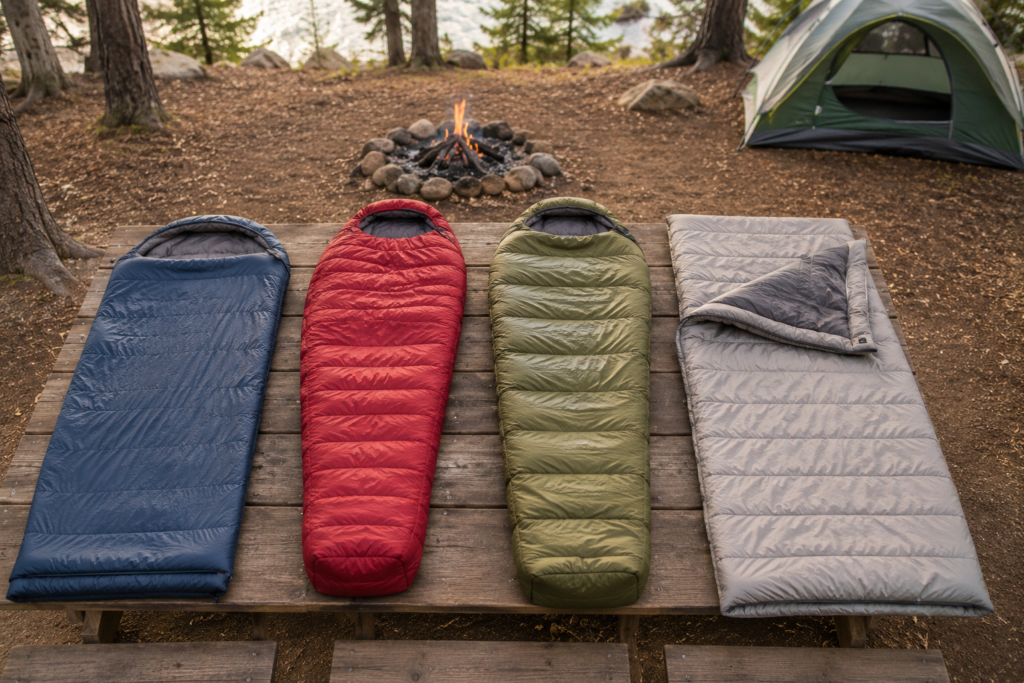
This is the most important piece of insulation knowledge in all of hammock camping — and the one beginners most commonly get wrong. Your sleeping bag keeps you warm on top. Underneath you, your body weight compresses the sleeping bag insulation completely flat, eliminating its warmth entirely. The bottom of your hammock has nothing between you and the cold air below. Even a mild night feels cold from underneath.
An underquilt solves this completely. It hangs beneath the hammock from outside, wrapping around the bottom like a cocoon, trapping warm air without being compressed by your weight. For any temperature below 65°F, an underquilt is not optional — it is essential.
To check your underquilt is working correctly: lie in the hammock with your insulation set up and place your bare hand on the bottom of the hammock from outside. If you can feel warmth, the underquilt is doing its job. If the fabric feels cold, there is a gap — adjust the coverage until warmth is felt across the full width.
Ridgelines and Guy lines
A ridgeline runs between your two trees above the hammock and gives you a consistent sag every time — attach it once to your tree straps, and your hammock always hangs at the same depth without guesswork. Guy lines attach your tarp corners to the ground, keeping the whole shelter taut and stable in wind. Both are lightweight, cheap, and make your setup measurably more comfortable and reliable.
How to Set Up Your Hammock for the Perfect Hang
Getting your hammock setup right is genuinely the difference between the best night’s sleep you have ever had outdoors and a stiff, uncomfortable night that makes you question all your life choices. The good news: once you know the steps, it takes under five minutes.
Choosing the Right Trees
- Choose two sturdy, healthy trees — 12 to 15 feet apart is the ideal spacing for most camping hammocks
- Check for signs of disease, rot, or damage — a dead or dying tree cannot be trusted to hold your weight safely
- Always look up before you hang — check for dead or unstable branches known as ‘widow makers’ that could fall unexpectedly during the night
- Check what is beneath the trees — avoid hanging over large rocks, exposed roots, or water if possible
- Respect tree health — use wide straps only, never rope or cord that cuts into bark
Getting the Hang Angle and Height Right
The 30-Degree Angle Rule Explained
The single most important technical element of hammock camping is the hang angle. Aim to hang your hammock so the suspension forms a 30-degree angle from the tree to the hammock at each end. Picture a gentle curve — neither stretched wire-tight nor sagging dramatically like a smile emoji. That balanced curve distributes your weight evenly and prevents shoulder squeeze, back strain, and pressure points.
Attach your tree straps at around 5 feet up the trunk. The lowest point of your hammock should sit roughly 18 inches off the ground — comfortable to get in and out of, and low enough that if you roll out (extremely rare but theoretically possible), you land gently rather than dramatically.
Setting Up Your Rain Tarp
How to Angle Your Tarp for Maximum Weather Protection
Run a ridgeline between your two trees above the hammock — slightly higher than your suspension points. Drape the tarp over the ridgeline and stake the four corners to the ground using guy lines, creating a taut, sloped surface that channels water away. Make sure the tarp extends at least 12 inches beyond both ends of your hammock.
- Angle the tarp slightly lower on the windward side — this blocks wind-driven rain far more effectively than a symmetrical pitch
- Use drip lines on your suspension straps — a simple overhand knot in the strap stops water running along the rope and into your hammock
- Practice your full setup at home before the trip — including the tarp. Fumbling with knots in rain at 10pm is not the experience you signed up for
- In stormy or exposed conditions, consider a full-coverage tarp with doors for additional protection
How to Stay Warm While Hammock Camping
Staying warm is where most first-time hammock campers come unstuck — and it is almost always the same mistake. They bring a sleeping bag that kept them warm in a tent and assume it will work in a hammock. It does not, for one specific reason: in a hammock, your body weight crushes the insulation underneath you completely flat. A sleeping bag rated to 30°F effectively becomes a 50°F bag on the bottom side. By 2am you are shivering and genuinely unsure why.
The fix is simple: an underquilt. It hangs outside the hammock beneath you, trapping warmth without being compressed. If the temperature is going to drop below 65°F, add an underquilt. If you do not have one, a sleeping pad placed inside the hammock provides meaningful insulation from below. Here is the complete warmth system by temperature:
HAMMOCK CAMPING TEMPERATURE GUIDE
- Above 65°F: Hammock alone or with a light blanket — no insulation needed
- 50°F – 65°F: Sleeping bag on top + sleeping pad inside hammock
- 35°F – 50°F: Underquilt underneath + sleeping bag or top quilt on top
- Below 35°F: Underquilt + top quilt rated for temperature + hat, thermal base layers
- Below 20°F: Not recommended for beginners — advanced insulation system required
Whatever your insulation setup, always wear a warm hat to sleep — a significant amount of body heat is lost through the head. Eat a warm meal close to bedtime — digestion generates body heat through the night. And never underestimate how much colder it feels above the ground, where air circulates beneath you.
For a full breakdown of camping gear choices by season and temperature, our [ultimate guide to camping gear for every season] covers insulation, layering, and equipment in detail.
The Secret to Sleeping Comfortably in a Hammock
Lie Diagonally — the Game-Changing Trick
Why Diagonal Sleeping Fixes the Banana Curve
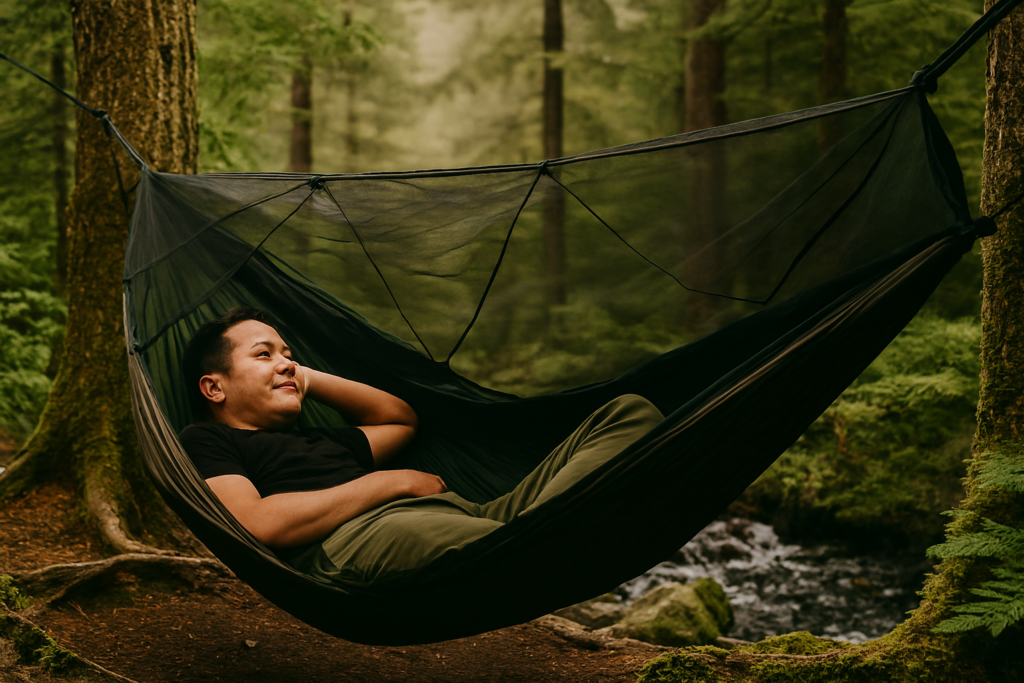
Here is the golden tip that separates the blissfully rested from the ‘never again’ crowd: the key to sleeping comfortably in a hammock is lying diagonally. Once your hammock has a natural, relaxed sag, sit in the centre and shift your body so your head points toward one corner and your feet toward the opposite corner. You will be amazed at how much flatter and more comfortable your position immediately becomes.
Why does this work? Lying straight down the centre of a hammock creates the famous ‘banana curve’ — your body curves with the hammock and your back arches uncomfortably. Lying diagonally breaks that curve. Your head and feet drop to a lower position, your spine extends rather than curves, and you end up with a surprisingly flat, supportive sleeping surface that many campers find more comfortable than a tent mattress.
Adjusting for Different Sleeping Styles
One of the best things about a well-hung hammock is its adaptability. Back sleepers find the diagonal position most natural. Side sleepers often discover they can sleep on their back in a hammock comfortably — something many struggle with in a regular bed. The key is patience and small adjustments.
If you feel any tension in your knees while lying diagonally, tuck a small pillow, rolled jacket, or extra clothing underneath them. It is a simple fix that makes a noticeable difference. If your shoulders feel squeezed, your hang angle is too tight — add a little more sag and try again.
Hammock Camping vs Tent Camping: When to Choose Which
Hammock camping is not always the right choice for every trip — and being honest about that is part of being a useful guide. Here is a practical framework for deciding which shelter suits your specific situation:
CHOOSE HAMMOCK CAMPING WHEN:
- ✅ Your campsite is in a wooded area with suitable trees
- ✅ The weather forecast is dry or manageable
- ✅ You are solo or everyone in the group has their own hammock and suitable trees are available
- ✅ You are backpacking and weight matters
- ✅ The ground is uneven, rocky, wet, or otherwise unsuitable for tent camping
- ✅ Temperatures are above 35°F and you have the right insulation
CHOOSE A TENT WHEN
- ❌ The site has no suitable trees — open fields, beaches, or rocky terrain
- ❌ Temperatures drop below 20°F — advanced insulation needed for hammock camping
- ❌ You are camping with young children who need ground-level sleeping
- ❌ You are in a group and cannot guarantee tree spacing and availability for everyone
- ❌ You are completely new to camping and want one less variable to manage on trip one
The goal is not to prove hammocks are better than tents. The goal is the best night’s sleep on that specific trip. A beginner does better when they treat setup complexity as a cost, not a badge of seriousness. If the site and weather reduce complexity, hammock camping is an outstanding choice. If they increase it, bring the tent.
Frequently Asked Questions About Hammock Camping
Is hammock camping comfortable for beginners?
Yes — once you know two things: the 30-degree hang angle and the diagonal sleeping position. Most beginner discomfort comes from hanging the hammock too tight (the violin string problem) or sleeping straight down the middle (the banana curve problem). Fix both of these and hammock camping is genuinely more comfortable than sleeping on the ground for most people.
How far apart do trees need to be for hammock camping?
The ideal spacing is 12 to 15 feet apart for most camping hammocks. Too close and you cannot achieve the correct hang angle. Too far apart and your suspension angle becomes too steep, creating pressure points at the shoulders. Always use wide tree straps of at least one inch to protect bark and meet Leave No Trace requirements.
Do you need a sleeping bag for hammock camping?
Yes — but a sleeping bag alone is not enough in temperatures below 65°F. Your body weight compresses the sleeping bag insulation underneath you completely flat, eliminating its warmth from below. An underquilt is essential for cold-weather hammock camping — it hangs beneath the hammock and provides bottom insulation without being compressed. A sleeping pad inside the hammock is a budget alternative that also works.
Is hammock camping warmer or colder than tent camping?
Colder — if you do not account for bottom insulation. A tent provides ground-level shelter and slightly warmer air inside. A hammock exposes you to air circulation on all sides including below. With the correct insulation setup (underquilt and appropriate sleeping bag), hammock camping can be just as warm. Without it, you will be noticeably colder than in a tent at the same temperature.
What is the biggest mistake beginners make with hammock camping?
Skipping the underquilt. Almost every first-time hammock camper who has a cold, miserable night makes this mistake. They bring a sleeping bag that worked perfectly in a tent and do not realize the compression problem until 2am when they are shivering. The second most common mistake is hanging the hammock too tight — aim for a 30-degree angle, not a taut straight line. And the third: not practicing the setup at home before the real trip.
Start Your Hammock Camping Journey — One Hang at a Time
Hammock camping is not just a trend — it is a genuinely better way to sleep outdoors for most campers in most woodland settings. Yes, there is a learning curve. Your first setup will take longer than five minutes. You might forget your underquilt on your first cold night (most people do). But once you get the hang of it — and once you feel that first morning waking up rested, ache-free, and suspended gently above the forest floor — most hammock campers say they will never go back to sleeping on the ground.
Start with a backyard practice run. Invest in solid gear — especially the underquilt and tree straps. Perfect your 30-degree angle and your diagonal sleeping position before the real trip. Then go. Your back will thank you, your pack will feel lighter, and you will sleep better than you have in years.
Happy hanging — and here is to starry skies and zero pressure points.
Before you head out, make sure your full packing list is sorted — our [complete camping checklist for new campers] covers everything from shelter to cooking to safety gear.
Taking the family? Our [camping with kids guide] covers everything parents need — gear, safety, sleep, and activities for all ages.