Camping Photography Tips: How to Capture Nature’s Beauty
-
| Founder & Content Creator

Latest Posts
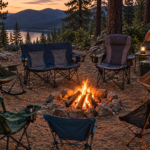
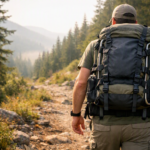
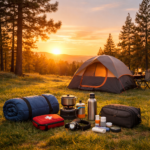
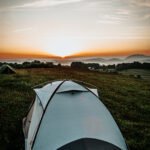
There is a moment that every camper knows — you are standing at the edge of a lake at sunrise, the mist is still drifting across the water, the mountains behind are turning pink, and your brain is screaming: why don’t my photos ever look like this moment feels?
They can. And you do not need expensive gear or formal photography training to make it happen. Camping photography tips come down to a handful of principles — light, composition, timing, and a bit of patience — that apply whether you are shooting on a smartphone or a mirrorless camera.
This guide covers everything: the right gear for outdoor photography, the camera settings that actually matter, how to use golden hour, composition techniques, wildlife photography, shooting the night sky, and the small creative tricks that turn ordinary camping snapshots into images you are genuinely proud of.
Why Camping Is One of the Best Settings for Photography
Most photographers chase dramatic landscapes. Campers live in them for days at a time. That is a significant advantage. You are there for the sunrise nobody else is awake for. You are still at camp when the evening light turns golden and the day visitors have already driven home. You have time to wait for the deer to stop moving, the fog to clear, or the moment the campfire catches.
The best camping photography tips are not really about technique — they are about being present and paying attention. The gear helps. The settings matter. But being in the right place at the right time, patient and unhurried, is what most great outdoor photographs have in common.
Before you pack your camera, make sure the rest of your gear is sorted — our complete camping checklist for new campers covers everything you need so your photography session doesn’t end early due to a forgotten sleeping bag.
The Right Gear for Camping Photography (At Every Budget)
Good news: the best camera for camping photography is the one you already have. Whether that is a smartphone, a compact point-and-shoot, or a full DSLR system, what matters far more than the gear is knowing how to use it.
DSLR and Mirrorless Cameras: The Full-Control Option
DSLR and mirrorless cameras give you complete control over every setting — aperture, ISO, shutter speed, RAW format — and accept interchangeable lenses, which opens up everything from wide landscape shots to telephoto wildlife photography.
- Mirrorless cameras (Sony a6700, Fujifilm X-T5) — lighter and faster than DSLRs, excellent for backpackers and campers who are covering distance
- DSLRs — heavier but extremely durable, superb lens flexibility, and ideal in harsh outdoor conditions
- Weather-sealed bodies — worth the investment if you camp in rain, fog, or dusty conditions regularly
- Kit lens (18-55mm) — covers most camping photography needs from wide landscapes to moderate close-ups
- Telephoto lens (70-300mm) — essential for wildlife photography from a respectful distance
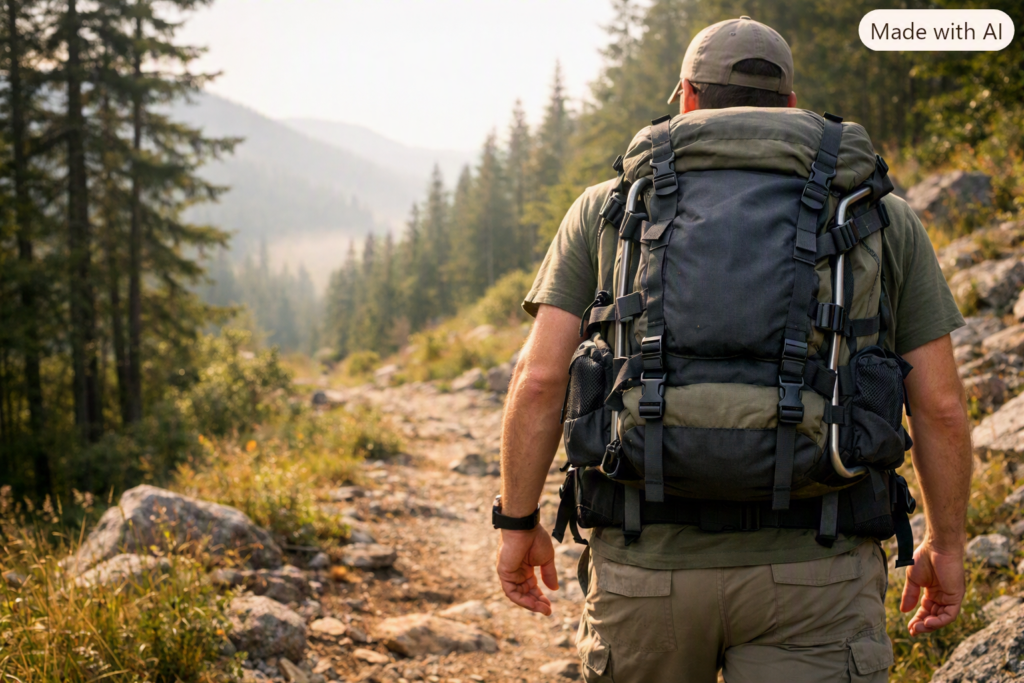
PRO TIP: Here is a simple trick most campers never think of: buy a padded camera insert — a small cushioned pouch that holds your camera safely — and drop it inside your regular hiking backpack. Your camera gear and all your camping kit go into one bag. No second bag hanging off your shoulder. No juggling two packs on a trail.
Smartphone Camping Photography: Better Than You Think
Modern smartphone cameras — iPhone Pro, Google Pixel, Samsung Galaxy — are genuinely capable of stunning outdoor photography for campers. The key is moving beyond the default auto mode.
- Enable gridlines — helps you apply the rule of thirds (see Section 5)
- Use HDR mode for high-contrast scenes — prevents blown-out skies and keeps shadow detail
- Tap to focus and lock exposure — tap on your subject, hold until the AE/AF lock appears
- Use Pro or Manual mode — control ISO and shutter speed directly for night sky shots
- Shoot in RAW if your phone allows — dramatically more editing flexibility than JPEG
- Use the volume button as a shutter trigger to avoid camera shake on long exposures
Smartphones are especially great for family camping photography — quick, light, and always in your pocket. If you’re heading out with children, our camping with kids guide has tips on making the whole trip easier for everyone.
Essential Accessories: What to Pack Alongside Your Camera
- Tripod — non-negotiable for golden hour, night photography, long exposures, and group shots without a third person
- Polarising filter — cuts glare on water, deepens sky colour, and makes landscapes pop in a way that no editing can replicate
- Extra batteries — cold weather drains batteries faster than expected; always carry at least one spare
- Large memory cards — shoot freely without managing storage mid-trip
- Microfibre cleaning cloths — dust, moisture, and fingerprints are constant outdoors
- Waterproof dry bag or case — for camera kit in rain or near water
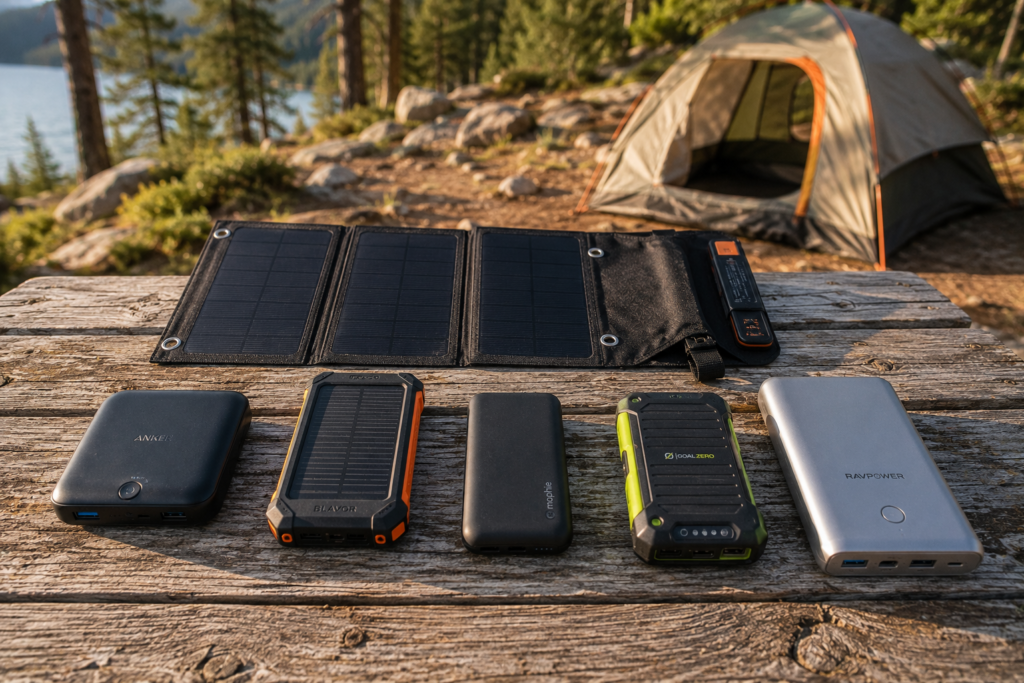
- Portable power bank — for charging smartphones and mirrorless batteries at the campsite
Camera Settings for Outdoor and Nature Photography
You do not need to be a professional to understand camera settings. Three numbers run almost everything in photography — aperture, ISO, and shutter speed — and once you get a feel for how they work together, you will shoot better photos every single time.
Aperture, ISO, and Shutter Speed Simplified
Nature photography tips for campers almost always start here, because these three settings control everything else.
- Aperture (f-number): Controls depth of field. Low f-number (f/1.8, f/2.8) = blurry background, sharp subject — great for wildlife portraits. High f-number (f/8, f/11) = everything in focus — great for landscapes.
- ISO: Controls sensitivity to light. Keep it as low as possible (ISO 100-400) in daylight to avoid grain. Raise it (ISO 1600-6400) for night shots or low-light conditions.
- Shutter speed: Controls how long the sensor is exposed. Fast speed (1/500s) freezes movement — birds, streams, action. Slow speed (1/30s or longer) blurs movement — waterfalls, starry skies, campfire light trails. Use a tripod for anything slower than 1/60s.
STARTING POINT: For golden hour landscapes: f/8, ISO 100, let the camera pick shutter speed in Aperture Priority mode. For wildlife: f/4, ISO 400, shutter speed 1/500s or faster. For night sky: f/2.8 (or widest available), ISO 1600-3200, shutter speed 15-25 seconds. Adjust from there.
RAW vs JPEG: Which Format to Shoot In
JPEG files are smaller and ready to share straight from the camera. RAW files are much larger but contain significantly more image data — meaning far more flexibility when editing exposure, colour, and detail in post-processing.
For casual camping snapshots, JPEG is fine. For landscapes, golden hour shots, and any image you plan to edit seriously — shoot RAW. Most modern cameras and smartphones support it. The extra editing control makes a visible difference to your final images.
Golden Hour Photography While Camping: The Magic of Early Mornings and Evenings
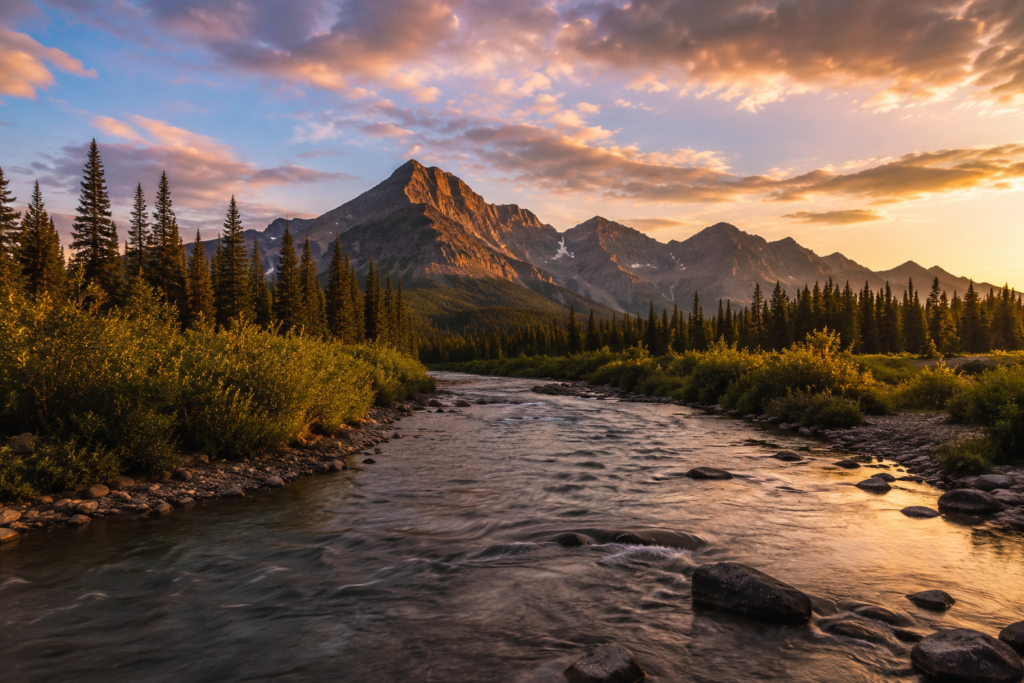
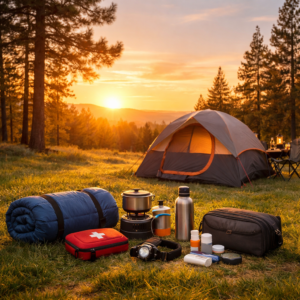
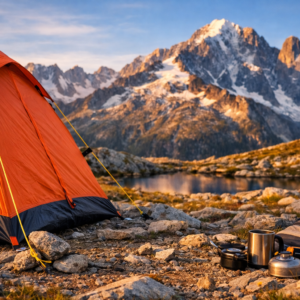
Golden hour is the single most powerful camping photography tip you will ever receive. The hour after sunrise and the hour before sunset produce soft, warm, directional light that flatters every landscape, every portrait, and every subject it touches. Professional photographers call it magic hour for a reason.
What Makes the Golden Hour So Special for Camping Shots
Here is something most people do not realize: midday is actually the worst time to take photos outdoors. The sun is directly above you, which means harsh light, flat colors, and shadows in all the wrong places.
Golden hour is when everything changes. That soft warm light just after sunrise and just before sunset makes any scene look beautiful — richer, warmer, and full of depth.
The best part? As a camper, you are already there. No rushing to a location, no early alarm to catch a sunrise from the city. The light comes to you. All you have to do is step outside your tent with your camera ready.
How to Plan Your Shots Around the Light
- Check sunrise and sunset times the night before — apps like PhotoPills or The Photographer’s Ephemeris show exactly where the sun will rise and set relative to your location
- Be in position 20-30 minutes before golden hour begins — the pre-golden light (blue hour) is beautiful too
- Look away from the sun as well as toward it — the landscapes lit by golden light behind you are often more interesting than shooting directly at the sun
- Shoot quickly and keep shooting — the light changes every minute during golden hour
- Mist, light cloud, and partly overcast skies can make golden hour even more dramatic
PRO TIP: You do not have to point your camera at the rising sun. Look around — see what the golden light is illuminating. A campfire still glowing in the morning light, dew on your tent fly, a sleeping dog, a coffee mug steaming in the cold air. These quiet golden hour details are often the best camping photos of the whole trip.
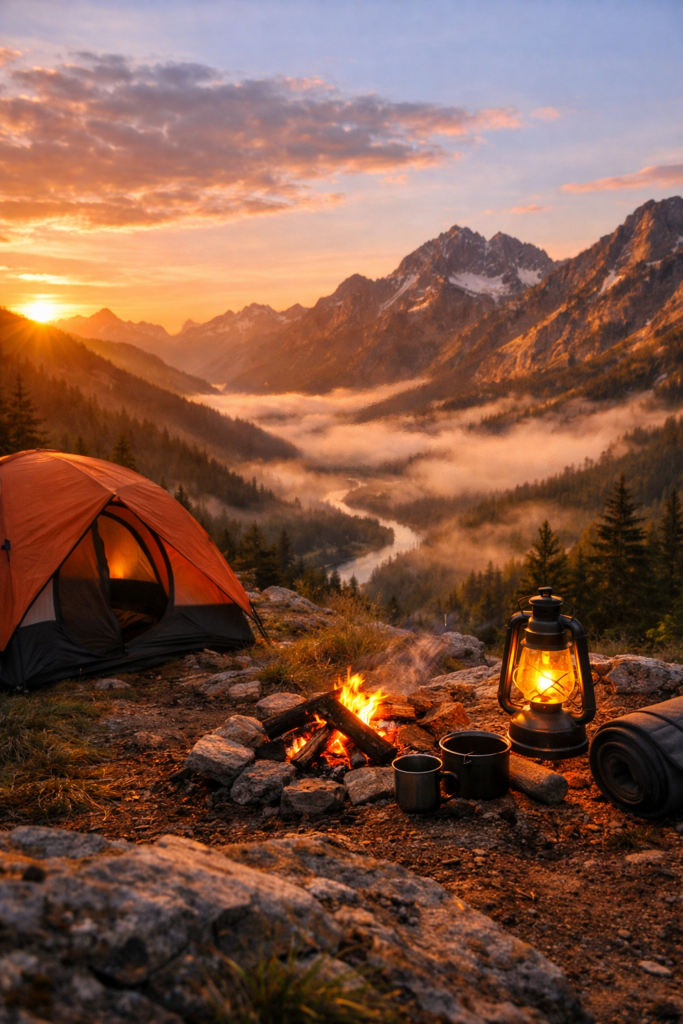
Composition Techniques That Transform Ordinary Camping Shots
Composition is how you arrange elements within your frame. It is the difference between a snapshot that records a place and a photograph that makes someone feel like they are standing there. The good news is that how to take better photos while camping does not require expensive gear — it requires knowing where to point what you already have.
The Rule of Thirds: The First Rule Every Camper-Photographer Should Know
Imagine your camera screen divided into a 3×3 grid of equal rectangles — two horizontal lines and two vertical lines. The rule of thirds says: place your most interesting element at one of the four points where those lines intersect, rather than dead centre.
For a landscape: put the horizon on the top or bottom third — never the middle. For a wildlife shot: place the animal at one of the intersection points, with space in front of it for the eye to travel. For a person at the campfire: one of the intersections, not centred. Enable gridlines on your camera or phone — it makes applying this rule automatic.
Leading Lines, Framing, and Foreground Interest
- Leading lines: Rivers, paths, shorelines, fences, rows of trees — anything that runs through your frame draws the viewer’s eye toward your subject. Find them and use them deliberately.
- Natural framing: Shoot through a gap in trees, a tent doorway, an arch of branches, or between two boulders. The frame within the frame creates depth and directs attention immediately.
- Foreground interest: Including something in the foreground — a wildflower, a rock, your campfire — adds a sense of depth that flat landscape shots lack. Get low to make foreground elements more prominent.
- Reflections: Still lakes, puddles after rain, and wet rock surfaces all create mirror images. Symmetry in water reflections is one of the most consistently striking camping photo ideas.
Change Your Angle: Get High, Get Low, Get Different
We spend our lives at eye level. The most memorable outdoor photographs are almost never taken at eye level. Get low — very low — to make foreground elements loom large and backgrounds seem vast. Get high — find a ridge, a boulder, a hillside — for sweeping aerial-style landscape shots. Shoot upward through a canopy of trees. Lie on the ground and shoot a wildflower against the sky.
The single most common piece of advice from experienced outdoor photographers: if you think you have the shot, take three steps in a different direction and shoot again. You will often be surprised at how different the same scene looks.
Outdoor Photography Ideas to Try on Your Next Camping Trip
Sometimes the best camping photography tips are just creative prompts — ideas to try when you are not sure what to shoot. Here are the techniques that consistently produce interesting results.
Macro Photography: The Small Details That Tell the Biggest Stories
Everyone loves a big dramatic landscape shot. But honestly? It is the small details that make a camping photo collection feel real and alive.
Think about it — dew drops on the tent fly first thing in the morning. A spider web catching the golden light. The rough texture of tree bark up close. A single wildflower petal. The glowing embers of a campfire that is nearly out. A compass resting on a folded map.
These are the shots people stop and look at. They tell the story of being there in a way that a wide landscape shot never quite can.
The good news is you do not need any special equipment. Your smartphone can focus beautifully up close, and most standard camera lenses can get surprisingly near to a subject. Just move slowly, steady your arms against your body or rest the camera on something solid, and get closer than you think you need to. You will be surprised what you find.
Campfire and Long Exposure Photography
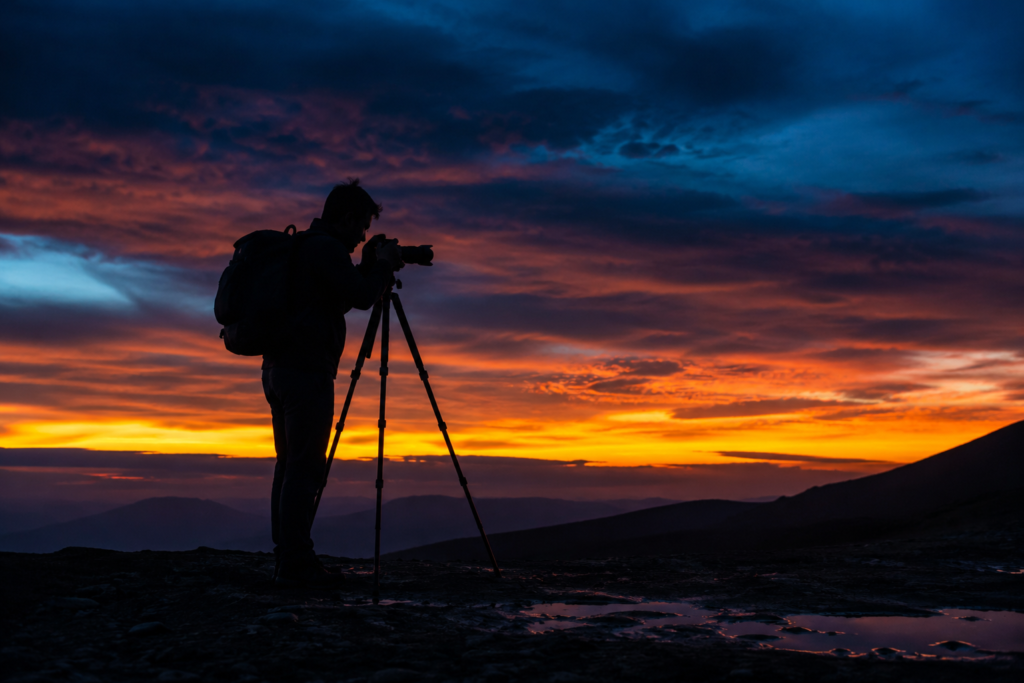
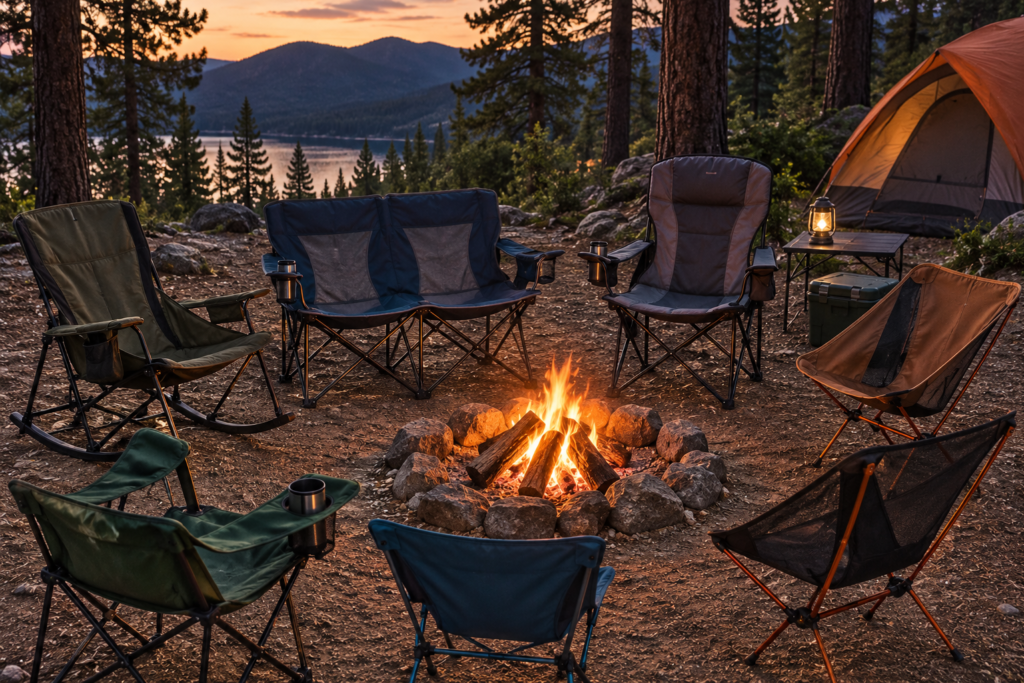
Campfire shots are some of the most special photos you will ever take while camping. There is something about firelight that just feels magical in a photograph — warm, flickering, alive.
The trick most people miss is timing. Do not wait until it is completely dark before you start shooting. The sweet spot is just as the evening sky is fading — that window where the fire is glowing but there is still a little colour left in the sky above. That mix of firelight and evening sky is what gives campfire photos their warmth and depth. Shoot in total darkness and the photo will just look like a bright blob against a black background.
If your camera lets you control shutter speed, try slowing it right down — somewhere between 1/15 of a second and a full second, with the camera propped on a tripod or resting on something solid. At that speed, the flames and sparks trail across the image in beautiful streaks of light. It captures the movement and energy of the fire in a way that a quick snapshot never does.
Water Reflections and Shooting Through Natural Frames
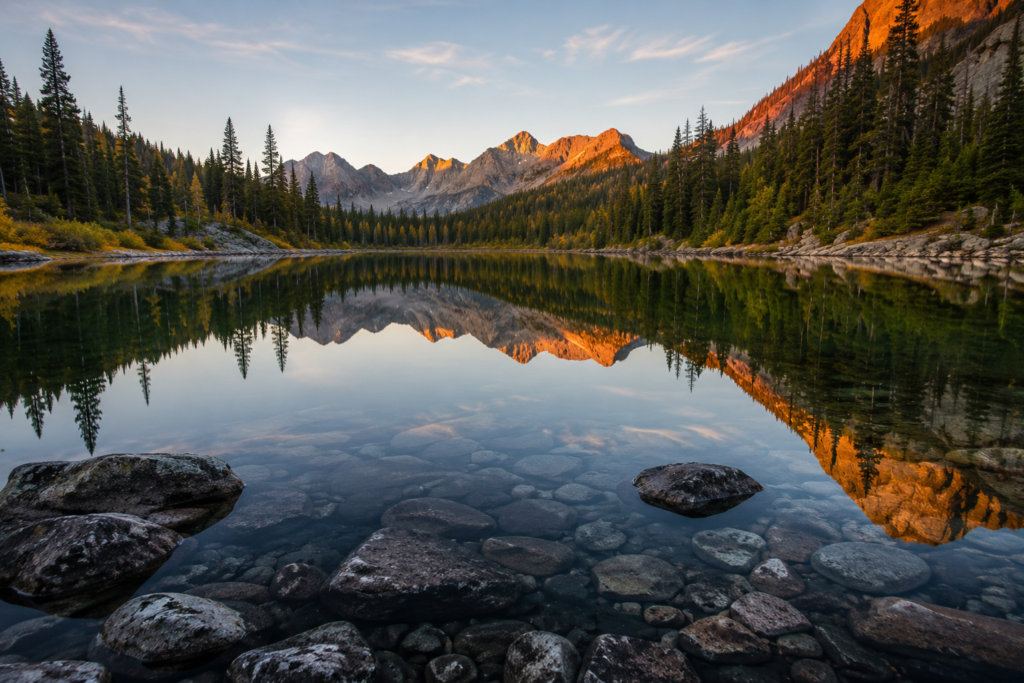
Still water is one of nature’s best photography tools. A calm lake or pond in the early morning — before any wind gets going — mirrors everything above it perfectly. Get yourself low to the water’s edge and let that reflection become part of the shot. The result is almost always striking.
And when you spot a natural frame — two trees close together, a tent doorway, a rocky arch — shoot through it rather than around it. It gives your photo an instant sense of depth and place. The viewer feels like they are standing right there with you, looking through the same gap. It is one of those simple tricks that makes a real difference to how a photo feels.
Wildlife Photography While Camping: Patience, Respect, and the Right Lens
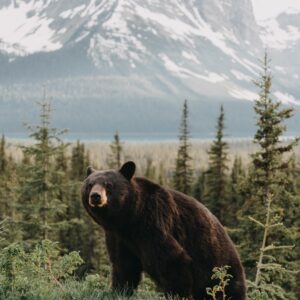
Before we get into technique, the most important thing about wildlife photography is keeping a safe and respectful distance. Our wildlife safety while camping guide covers how to behave around bears, snakes, and other wildlife you might encounter — always read it before any camping trip in wildlife country.
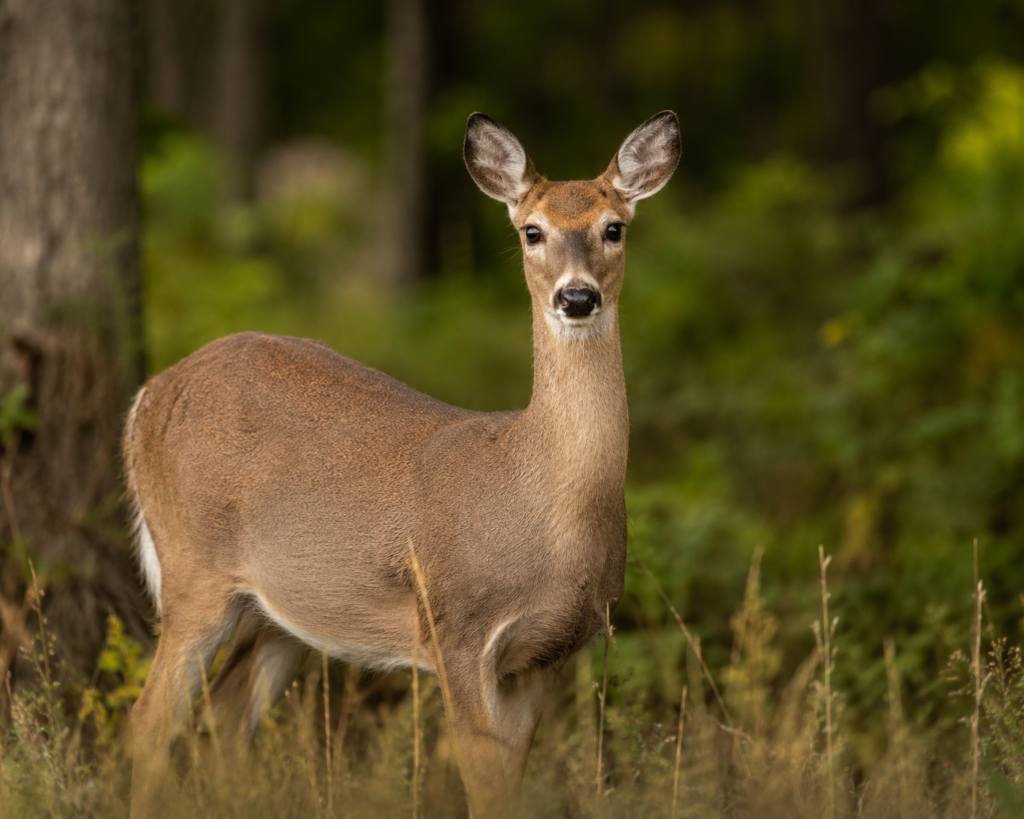
Wildlife photography is one of the most rewarding aspects of camping photography, and also the most patience-testing. Animals do not perform on request. They appear when they feel like it, in the light they choose, from the direction you were not expecting. The photographers who get the best wildlife shots are the ones who sit still, stay quiet, and wait.
- Use a telephoto lens (70-300mm or longer) to shoot from a distance that does not disturb the animal’s natural behaviour
- Focus on the eyes — a wildlife shot where the eyes are sharp and everything else is slightly soft is almost always compelling
- Use burst mode — animals move unpredictably; burst mode captures the moment you would have missed
- Shoot at the animal’s eye level — get down to their height rather than shooting down at them
- Be still and quiet — arrive early, settle into a spot, and let wildlife come to you rather than chasing it
- Early morning is peak time — most wildlife is active in the first two hours after sunrise
Wildlife photographers have a particular responsibility to tread carefully. Our sustainable camping and Leave No Trace guide is worth reading before any trip where you plan to get close to animals or fragile ecosystems.
Night Sky and Astrophotography at the Campsite
One of the greatest gifts of camping is distance from city light pollution. A truly dark sky — something most people never see from home — is one of the most dramatic subjects in all of outdoor photography. The Milky Way, visible from dark-sky campsites on clear nights, is a once-in-a-lifetime image for many campers.
A successful night shoot starts with a well-organized campsite — check our tips on creating a comfortable tent interior so your base camp is sorted before you head out to shoot the stars.
Settings for Shooting Stars and the Milky Way
- Aperture: as wide as your lens allows — f/1.8 or f/2.8 ideally. The wider the better for gathering light.
- ISO: 1600-6400 depending on your camera — start at 3200 and adjust
- Shutter speed: 15-25 seconds — longer than this and stars start to trail due to Earth’s rotation
- Focus: switch to manual focus, zoom in on a bright star on your LCD screen, adjust until the star is a sharp point
- White balance: set manually to 3200-4000K for a natural dark blue sky colour
- Use your phone torch on red mode to preserve your night vision while adjusting settings
What You Need for Night Photography
- Tripod — absolutely essential; there is no hand-holding a 20-second exposure
- Remote shutter release or self-timer — eliminates camera shake when pressing the shutter
- Fully charged spare batteries — long exposures drain power quickly, especially in cold air
- Dark-sky location — check lightpollutionmap.info before your trip to find the darkest sites
- Clear weather forecast — even partial cloud cover ruins star shots
WHEN TO GO OUT :The best night sky photography happens during the new moon phase, when there is no moonlight competing with the stars. Download a moon phase app and plan your camping dates around the new moon if astrophotography is a priority for the trip.
Weather Photography: How to Use Rain, Fog, and Storms to Your Advantage
Most campers pack their cameras away when the weather turns. That is exactly the wrong instinct. Some of the most atmospheric and memorable outdoor photography for campers happens in imperfect weather.
- Fog and mist: Creates mystery, softens backgrounds, and makes forests and mountains look ancient and cinematic. Shoot early morning before mist burns off, and use a longer lens to compress layers of fog.
- Rain: Puddle reflections, raindrops on tent fabric, dewy spider webs, the saturated colour of wet stones and moss — rain creates textures and details that dry conditions never produce. Use a fast shutter speed (1/500s or faster) to freeze individual raindrops.
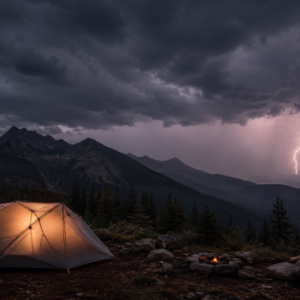
- Dramatic clouds: Storm clouds before the rain hits, lit from below by the setting sun, are some of the most dramatic landscape photography subjects that exist. Watch the sky actively.
- After rain: The golden hour light after a rain shower, with fresh puddles still reflecting the sky and everything washed clean, is one of the best times to shoot landscapes outdoors.
Protect your gear in wet conditions — see Section on protecting your camera — and get outside when everyone else is hiding in their tent. That is where the interesting pictures are.
Protecting Your Camera Gear Outdoors
Camera gear and the outdoors do not always get along. Dust, moisture, condensation, sand, and accidental drops are all genuine risks when shooting at a campsite. A few precautions protect your investment and keep you shooting.
- Waterproof dry bag — the simplest protection; a roll-top dry bag keeps all camera kit bone dry even in heavy rain
- Weather-sealed camera body and lenses — if you camp in genuinely wet conditions regularly, this is worth the investment
- Silica gel sachets — place in your camera bag overnight; absorbs moisture that causes sensor and lens fogging
- Lens hood — protects the front element from rain and physical impacts in addition to cutting lens flare
- UV or splash filter on every lens — acts as a replaceable screen protector for your most expensive glass
- Microfibre cloths — keep several in easy-to-reach pockets for quick wipes of lens and screen
- Never change lenses in wind, rain, or dusty conditions — find shelter first
One thing no one warns you about when shooting outdoors is that staying still for long periods makes you a prime mosquito target. Get your repellent strategy sorted before the shoot — our guide to keeping mosquitoes away while camping covers everything that actually works.
Beyond Photography: Journaling Your Camping Experience
Photos remember what a place looked like. Words remember how it felt. Put them together and you have something genuinely special — the kind of record that brings a trip rushing back years later, not just as an image but as a feeling. That is worth a few minutes of writing at the end of each camping day.
Record Your Daily Experiences
At the end of each camping day, once you are back at camp and the fire is going, take just ten minutes to write something down. Not a list of everything that happened — just one moment that stuck with you.
The way the light hit the water at six in the morning. The sound of rain drumming on the tent fly. The smell of woodsmoke mixed with wet pine. The cold air on your face on the first morning. These are the things photos cannot capture — the sounds, the smells, the way something felt in that exact moment.
Write them down while they are fresh. Those small, specific notes are the ones you will still love reading fifteen years from now. Far more than any itinerary or list of places visited.
Sketches, Maps, and Emotional Reflections
If you enjoy drawing even a little, try sketching your campsite, a rough map of the trail, or the shape of the valley you walked through. It does not have to be accurate or artistic — a few simple lines on a page capture something that photos and words cannot. There is something uniquely personal about a hand-drawn record of how you saw and moved through a place. No two people would draw it the same way.
And do not just write about what happened — write about how things felt. The nerves before a steep climb. The moment you almost walked past something beautiful and then stopped. The deep relief of crawling into a dry tent after a wet afternoon. Those emotional moments are what turn a camping journal from a list of events into something you actually want to read again.
Frequently Asked Questions About Camping Photography Tips
What is the best camera for camping photography?
The best camera for camping photography is the one you already have with you. A modern smartphone is genuinely capable of stunning outdoor photos when you understand its settings and use it thoughtfully. If you want more control and flexibility, a mirrorless camera is the best balance of image quality and packable weight — the Sony a6700 and Fujifilm X-T5 are two excellent options for outdoor use. The most important thing is knowing your camera’s settings well before the trip, not upgrading to something new.
When is the best time of day to take camping photos?
Golden hour — the hour after sunrise and the hour before sunset — produces the most consistently beautiful outdoor photography light. The soft, warm, directional light during these periods transforms ordinary landscapes into extraordinary ones. The blue hour immediately before sunrise and after sunset is also excellent for a cooler, moodier feel. Avoid harsh midday light where possible — it flattens color and creates unflattering shadows.
How do I take good photos of wildlife while camping?
Use a telephoto lens or zoom in fully on your smartphone to shoot from a respectful distance. Focus on the animal’s eyes — if those are sharp, the shot works. Use burst mode to capture movement and behaviour rather than posed stillness. Arrive early and settle into a spot quietly — let wildlife come to you. Early morning is peak wildlife activity time. Never approach or disturb animals for a better shot.
Can I photograph the Milky Way from a campsite?
Yes — in fact, camping is one of the best ways to access the dark skies needed for Milky Way photography. You need a clear night, a new moon phase (or near it), a location well away from city light pollution, and a camera that can shoot in manual mode. Settings: f/2.8 or wider, ISO 3200, 20-second exposure on a tripod. Check lightpollutionmap.info before your trip to find the darkest accessible campsites in your area.
How do I protect my camera from rain and dust while camping?
A roll-top waterproof dry bag is the simplest and most reliable protection — inexpensive, lightweight, and bombproof in rain. For active shooting in wet conditions, a waterproof camera cover or weather-sealed body and lenses is worth the investment. Keep silica gel sachets in your camera bag to absorb overnight moisture, carry lens cloths in accessible pockets, and never change lenses in wind, rain, or dust. A UV filter on every lens acts as a cheap, replaceable screen protector for expensive glass.
Your Camera Is Already Good Enough: Go Shoot Something Beautiful
The biggest thing holding most campers back from better photos is not their camera — it is hesitation. Waiting for the light to be just right. Waiting for a better spot. Waiting for the perfect moment. But while you are waiting, the light is already changing. The deer is gone in thirty seconds. The mist has burned off before you even got your camera out.
The truth is, camping photography tips are not really about mastering technique before you leave home. They are about being present and paying attention while you are actually out there. Wake up for the golden hour. Try the rule of thirds. Sit quietly and wait for wildlife to come to you. Go out in the rain. Get low to the ground. And always — always — look behind you. Some of the best shots are the ones you nearly walked away from.
The best camping photograph you will ever take has not happened yet. Pack whatever camera you have, keep this guide in your back pocket, and go find it.